- Joined
- Nov 10, 2007
- Messages
- 3,824
I thought I'd put all of my previous enclosure tutorials together in one thread.
My new P. Murinus split backdrop enclosure pic tutorial
I decided to take a tank and split it for my two female P. Murinus' but wanted to ensure they couldn't see each other - I'm planning on breed them and wanted them to each have their own private space. I didn't want glass or plexiglass as a divider so I decided to use one of my custom backdrops. The most important part of this enclosure is measurement - it must be dead on. A little off on your measurments means you end up with one fat T... The split lid can be purchased at most Petco's or repitle stores and it works perfectly for this enclosure. Let's begin (sorry about all the pics...there is also a video of the completed enclosure below):
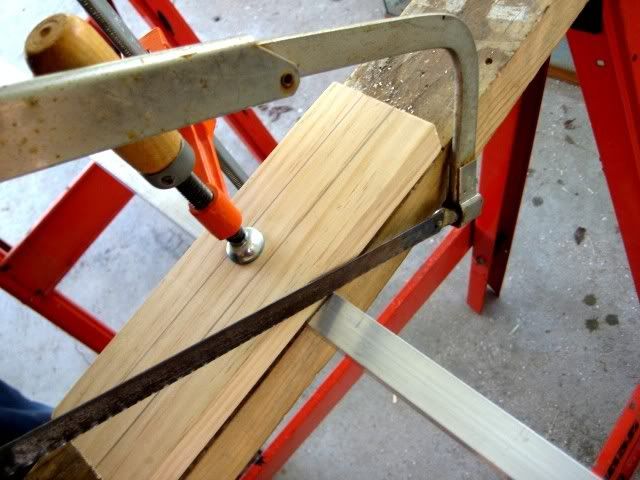
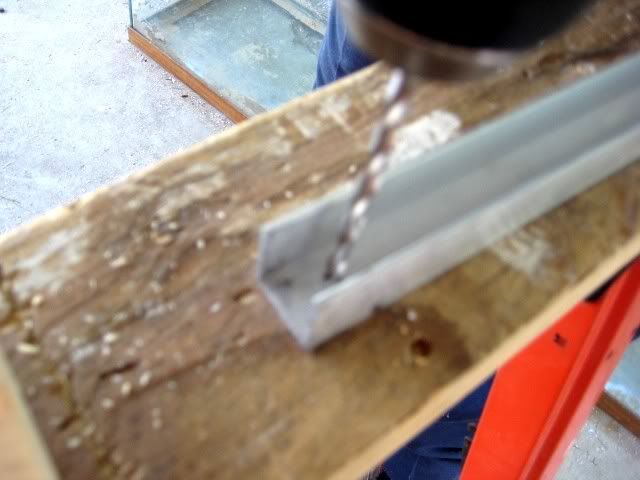
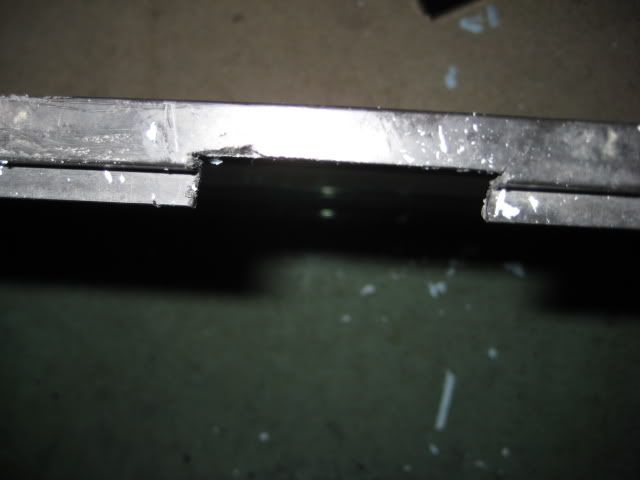
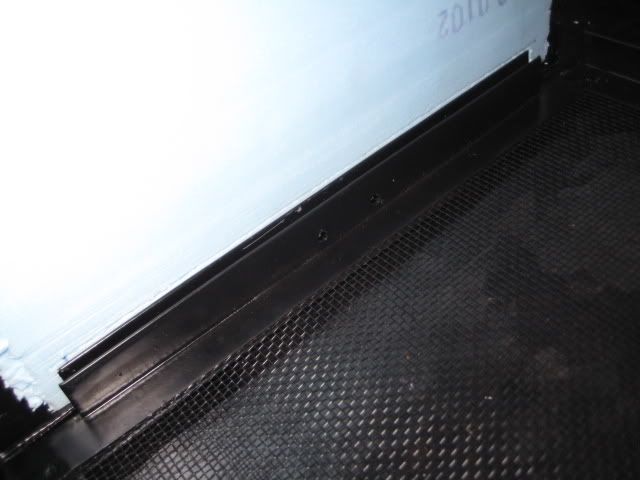
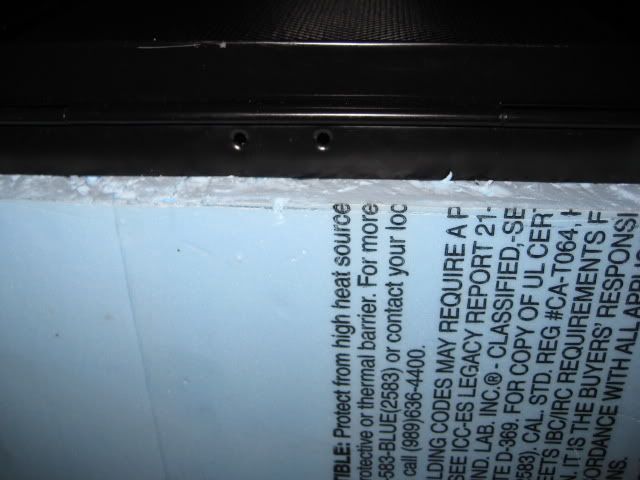
Step One:
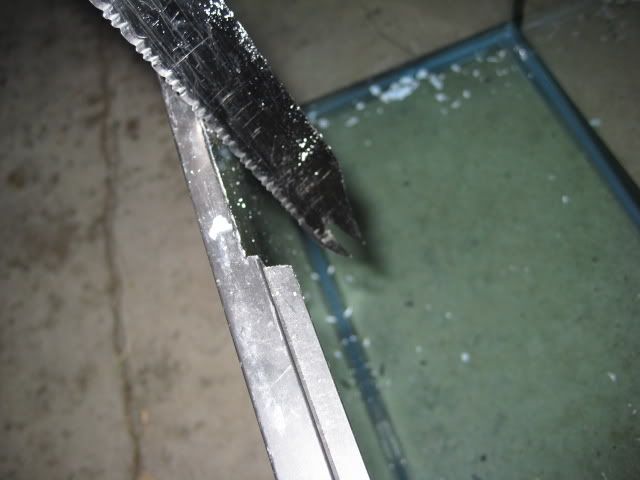
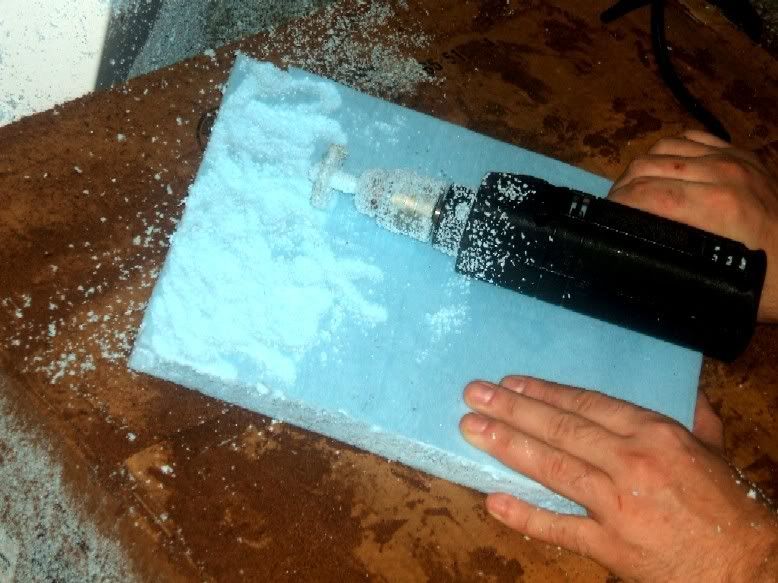
Notch the side of the tank where the divider is going to sit - 1/4" over the thickness of your foam...I use 2" foam and I recommend it.
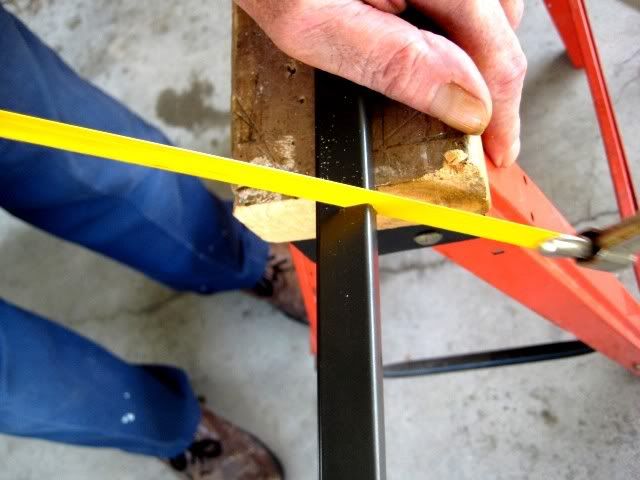
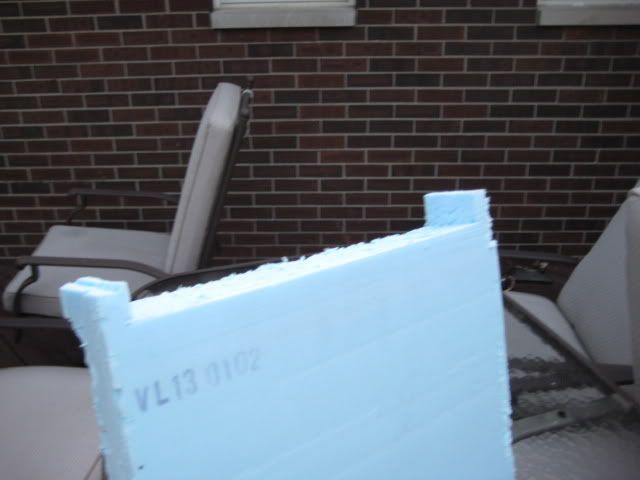
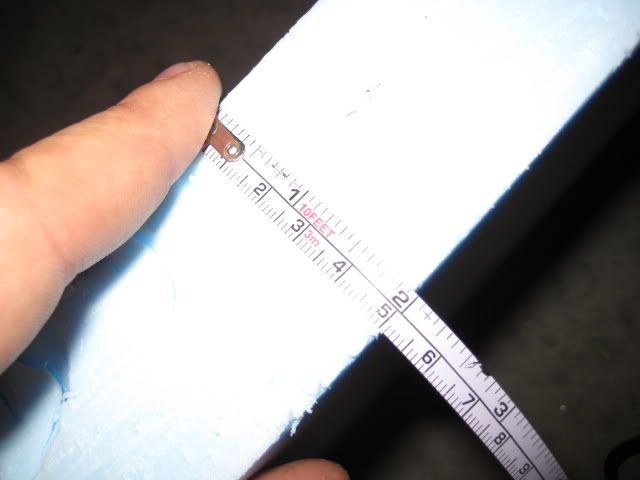
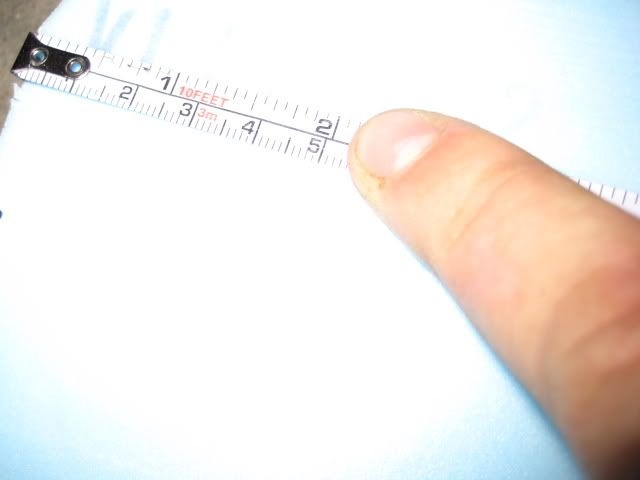
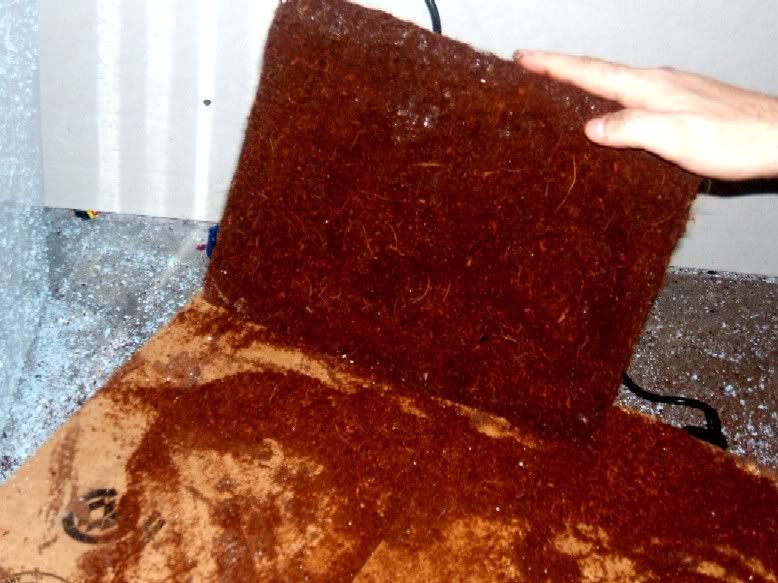
Step Two:
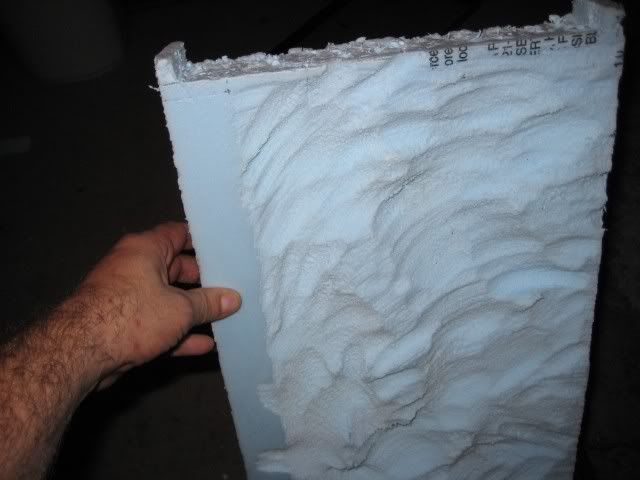
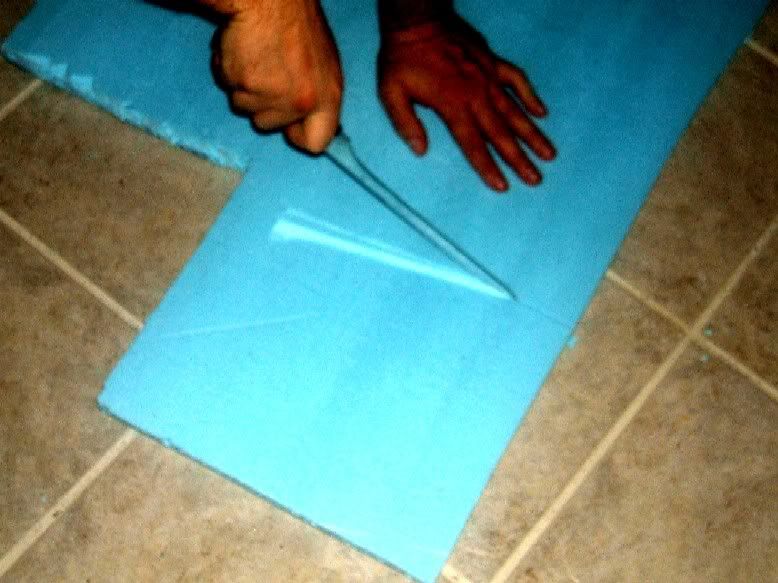
Measure and cut your foam to fit snuggly inside the newly notched tank. Tip: make sure all pieces fit before texturizing anything.
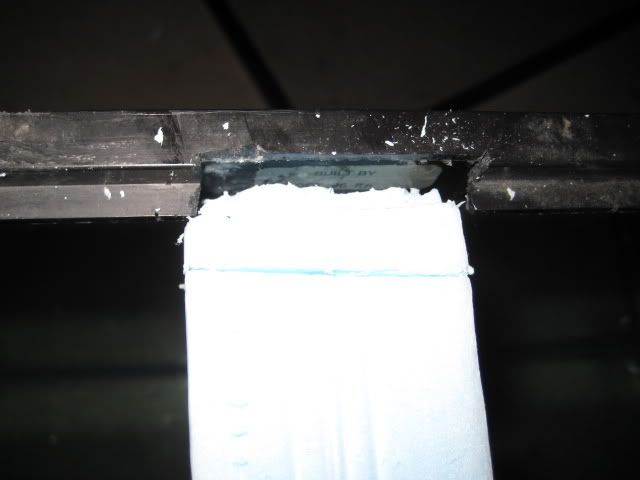
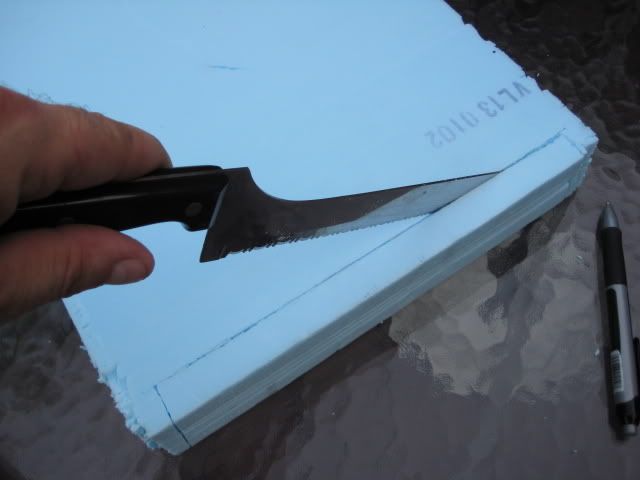
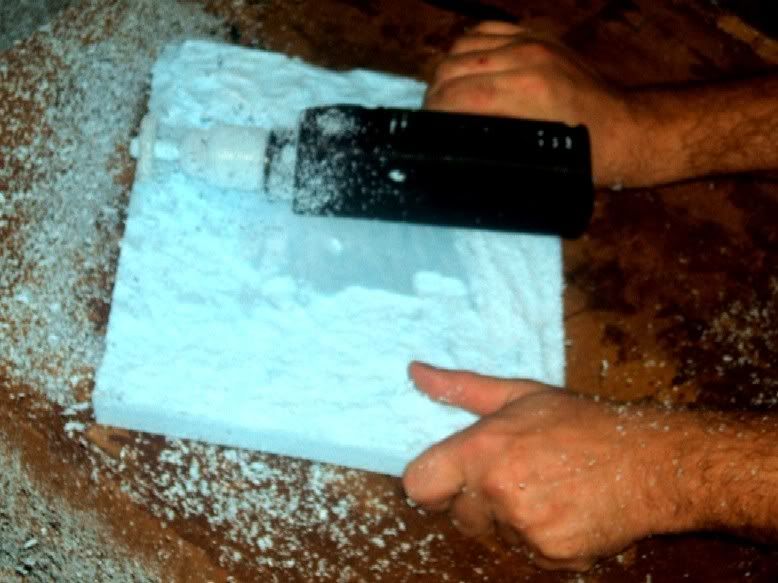
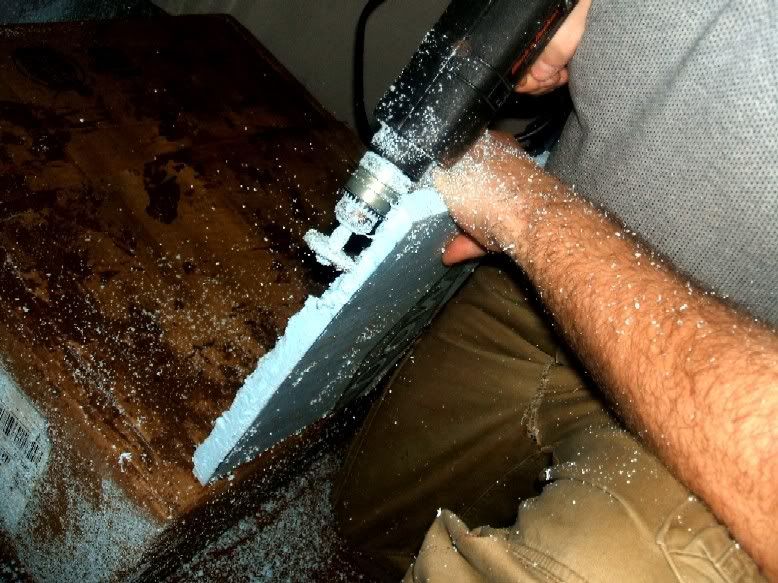
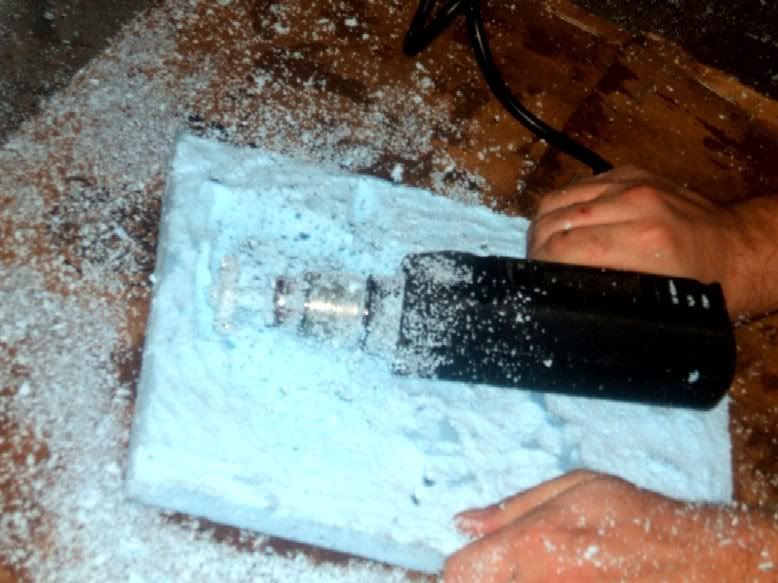
Step Three:
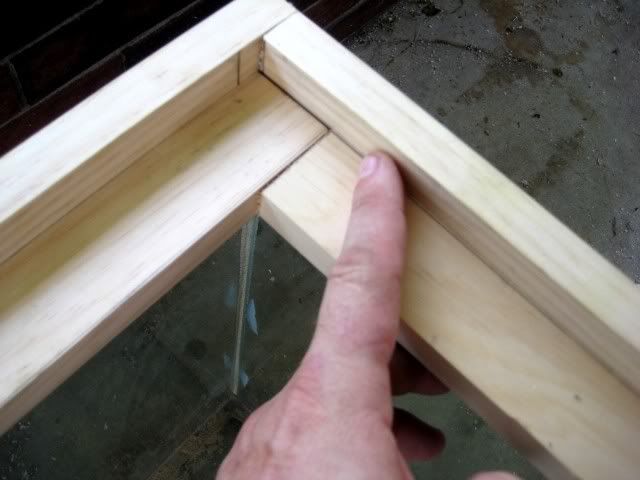
Notching the foam so each side of the lid can move freely.
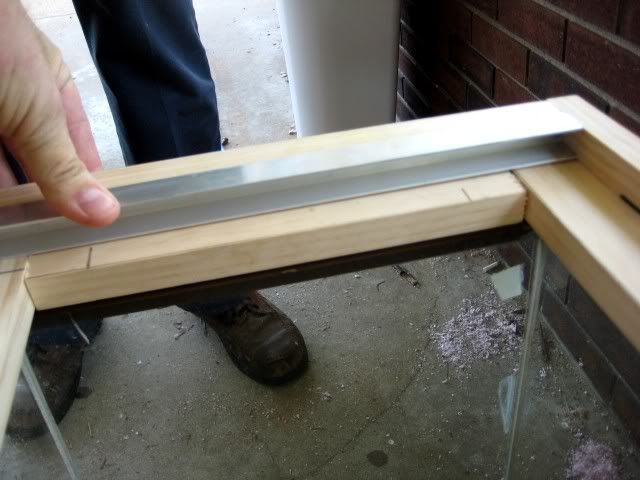
Here's the lid I used - the only one that will work for this type of enclosure. They come in various sizes:
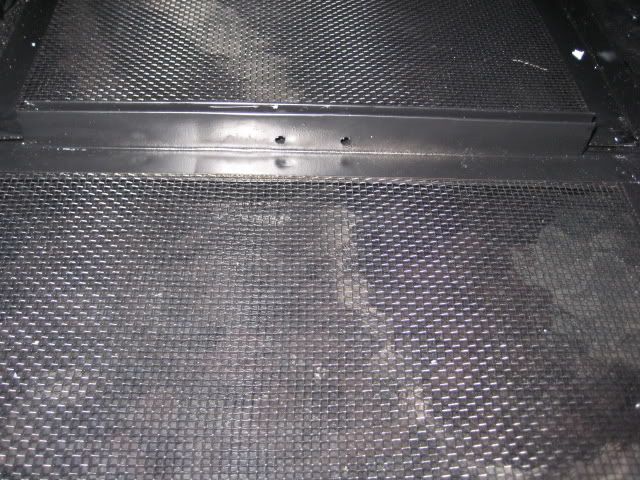
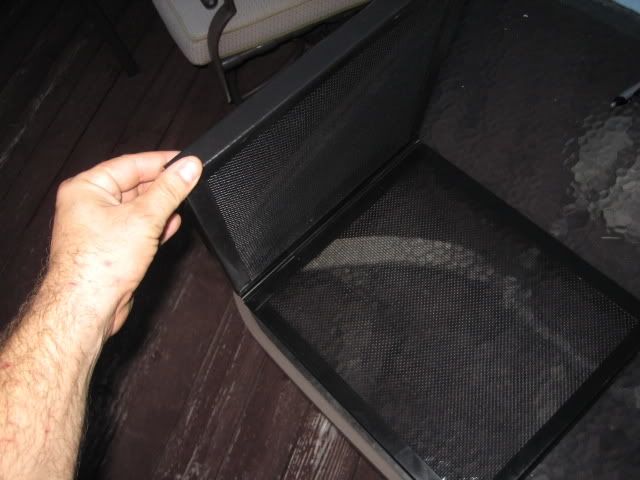
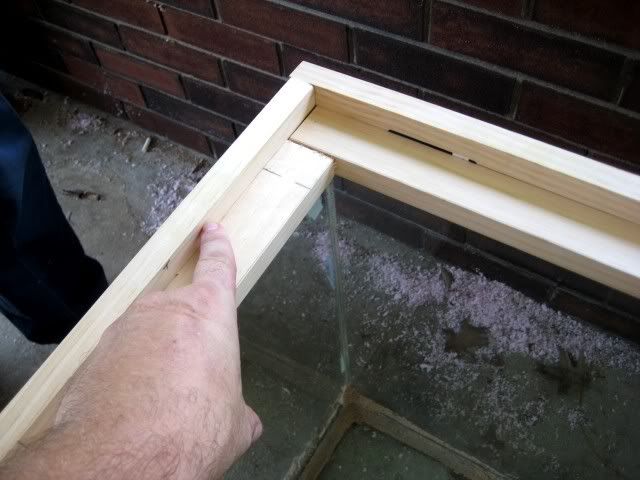
Step Four:
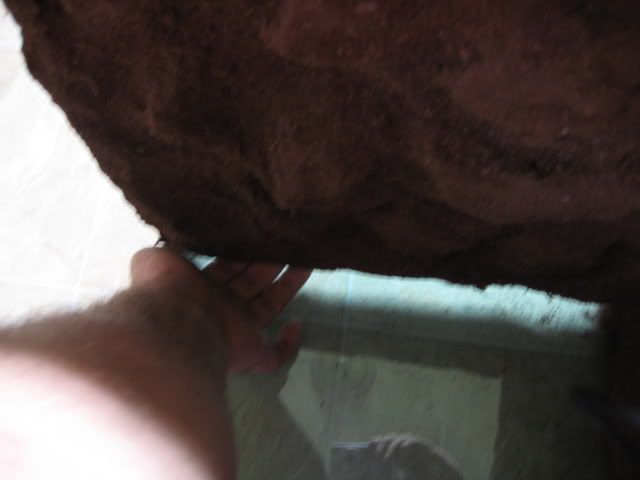
Make sure the lid and foam meet perfectly...don't want any escapees...
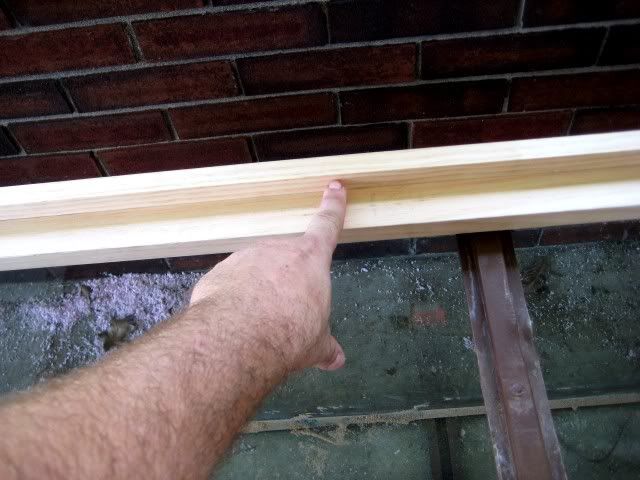
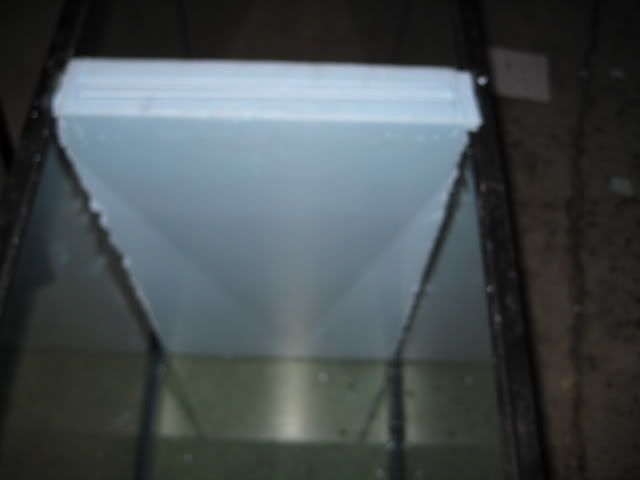
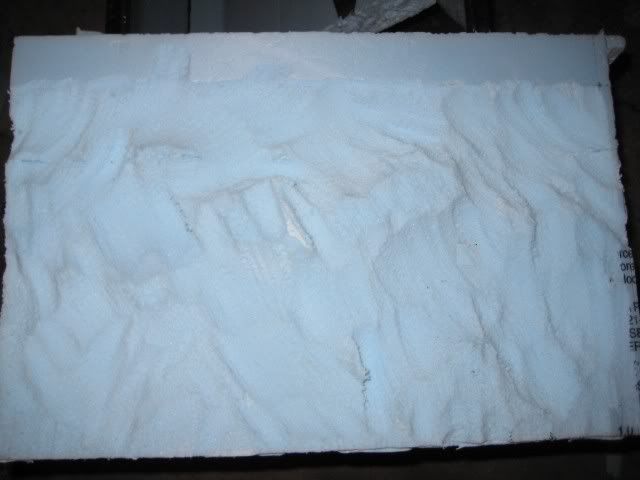
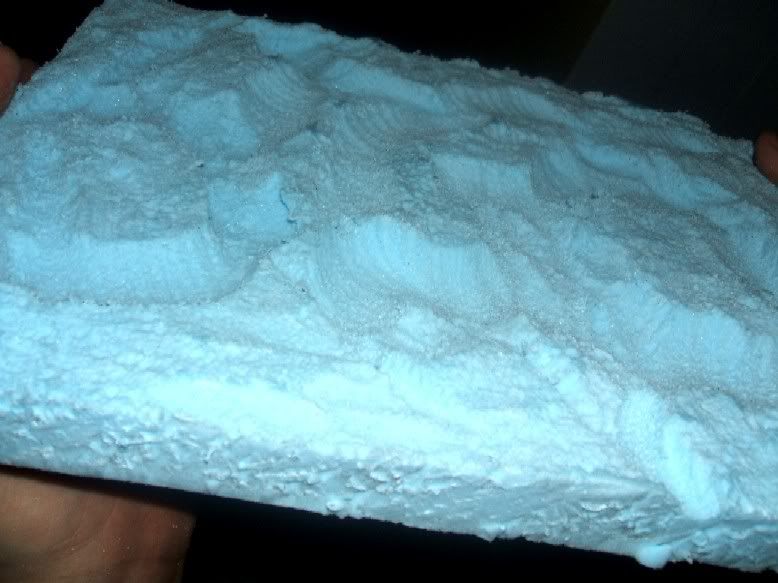
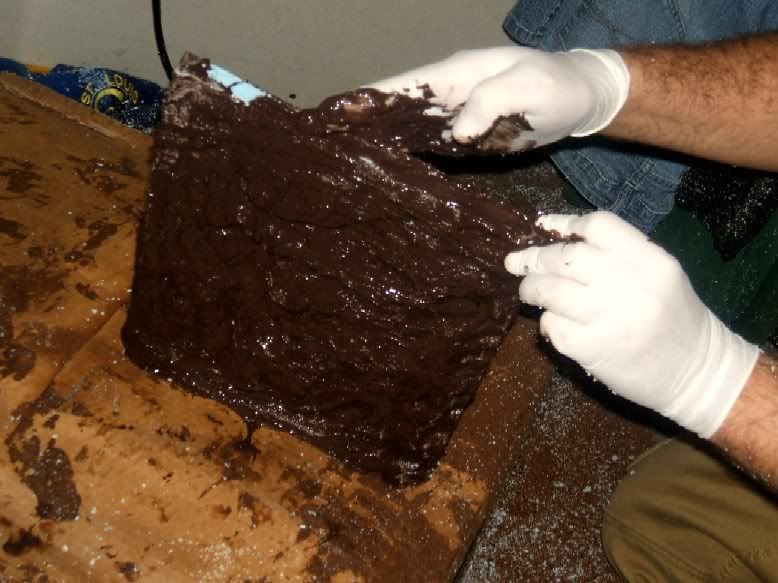
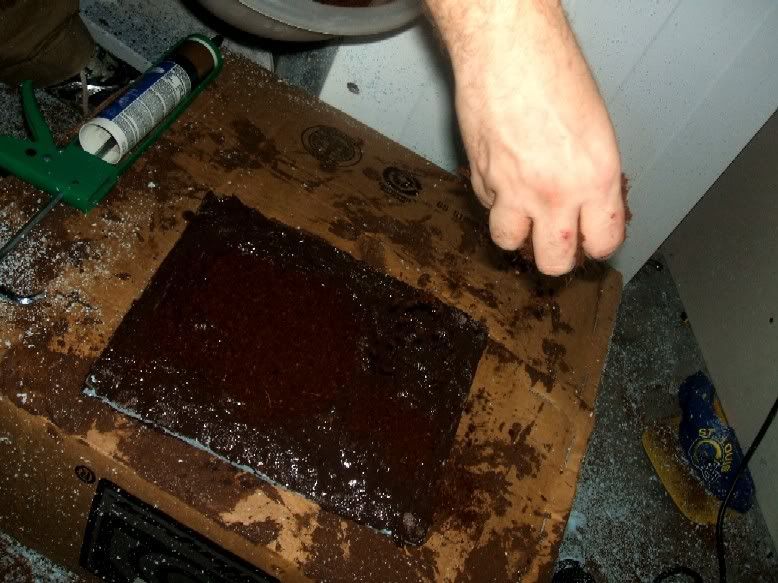
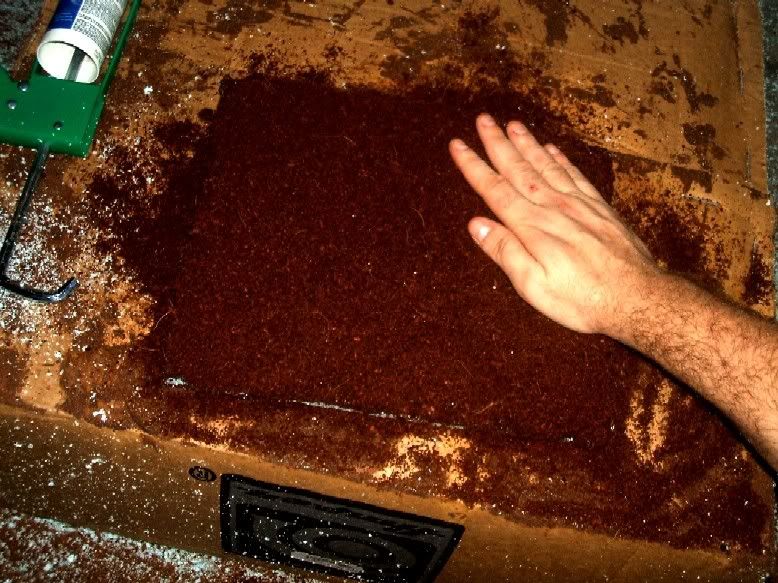
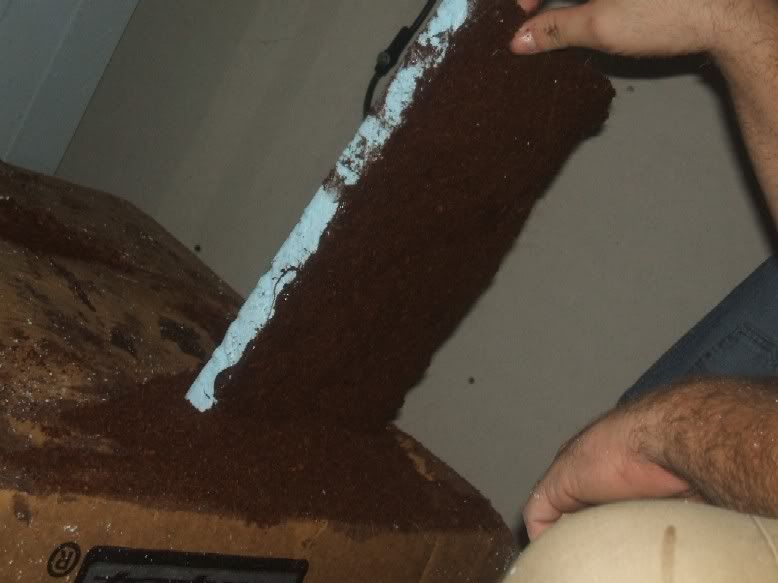
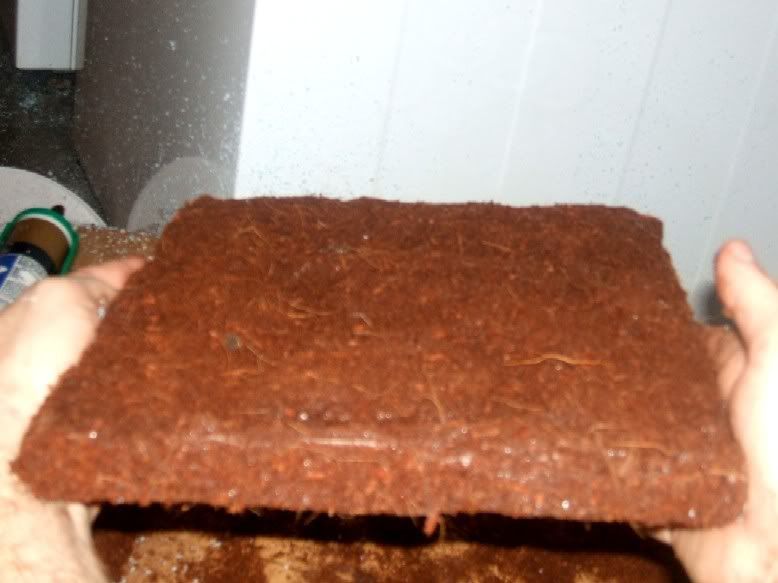
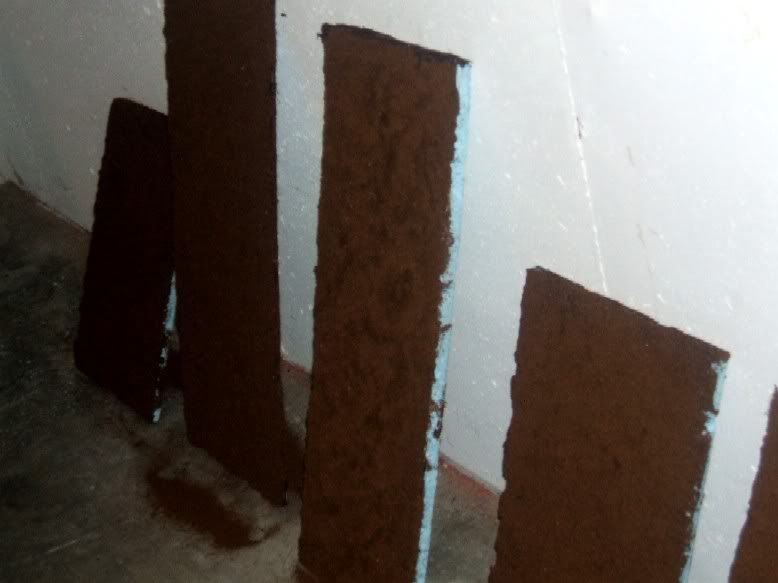
Step Five:
For the divider only - not the backdrop pieces - measure the thickness and don't texture that area where the divider and backdrops meet...you'll want it flat to fit tightly.
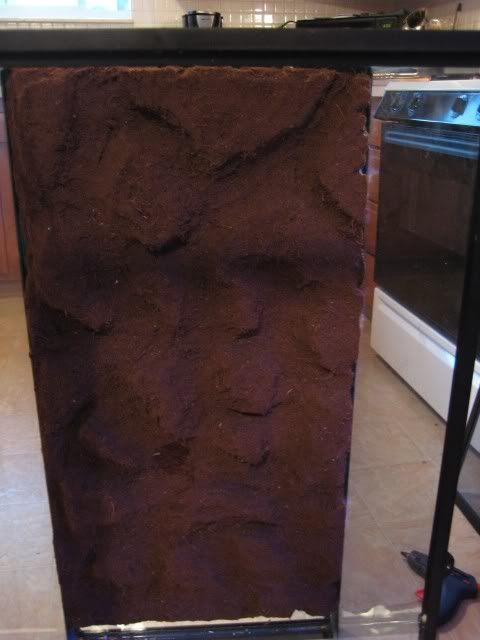
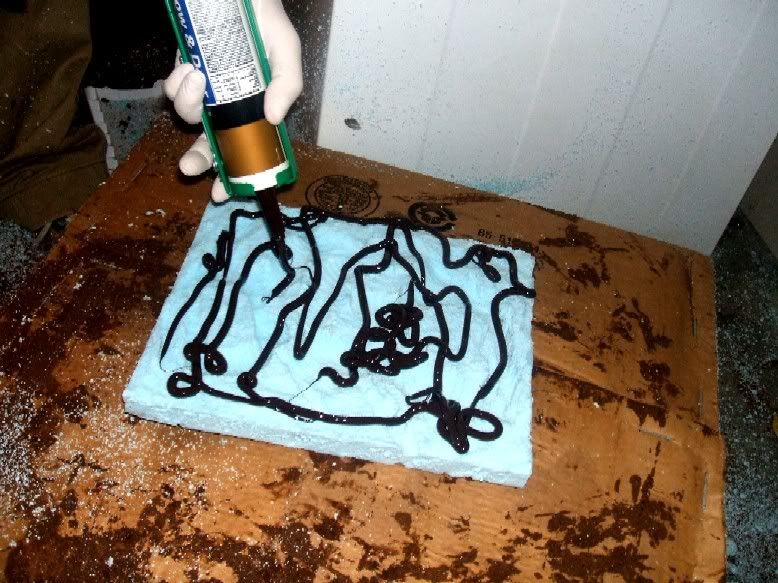
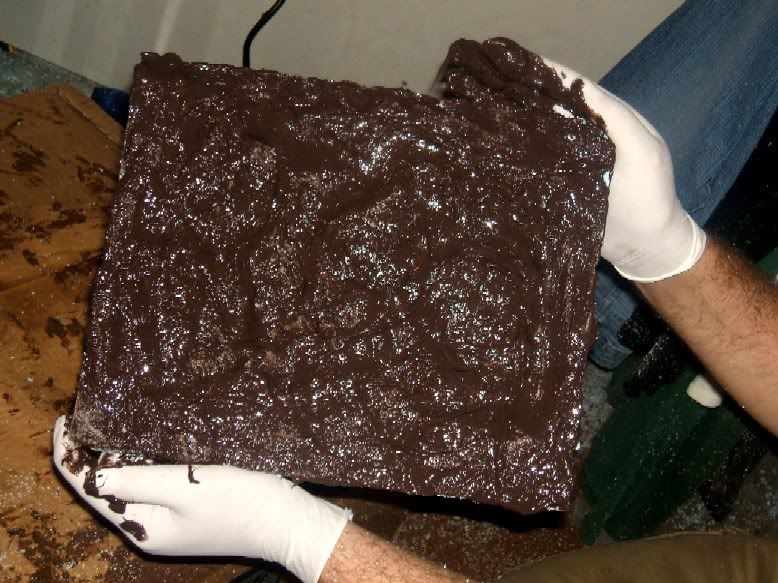
After texturizing the divider notice the flat area that wasn't texturized. That's where the backdrops will meet the divider. Texturize both sides the same way. For more info on this see my previous tutorial entitled "Robc's 3D Backdrop Tutorial".
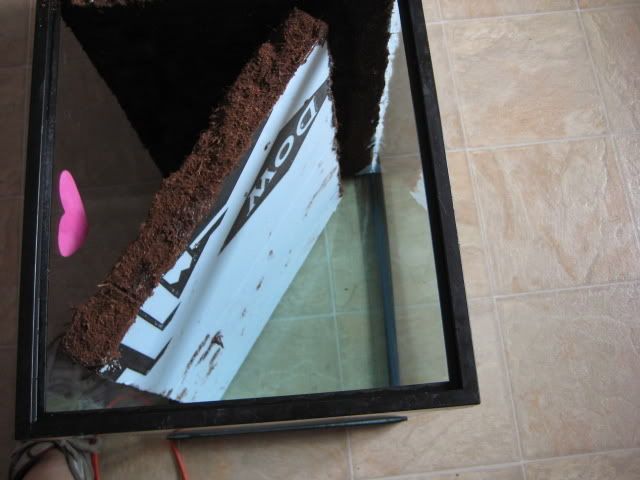
Step Six:
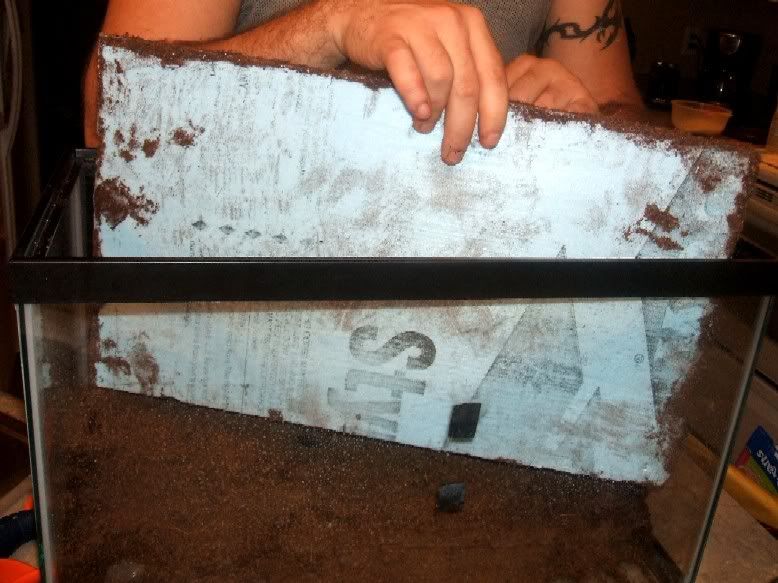
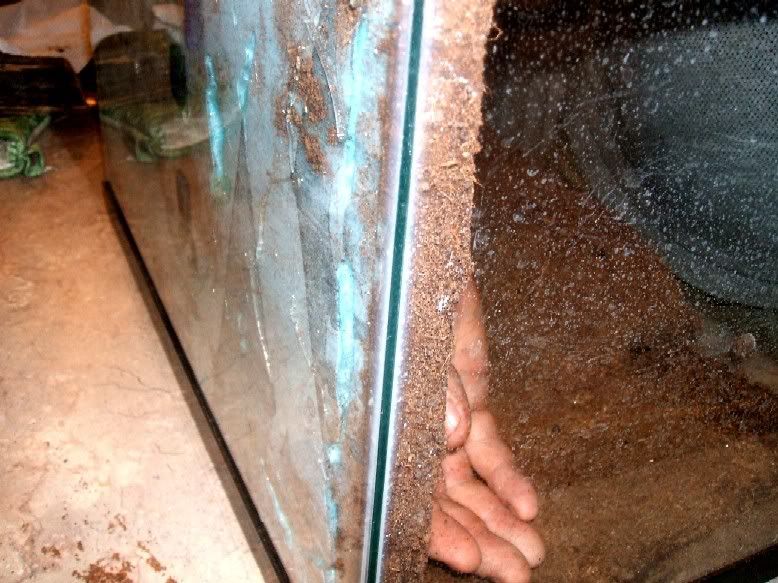
After backdrops are texturized and caulk & substrate have been added (and dried for at least an hour or two - I waited overnight) put the tank divider in - do not glue! Then position both backdrops as pictured below. I suggest inserting at an angle to avoid disturbing the substrate...keep in mind - it's a tight fit. A little force is necessary.
Step Seven:
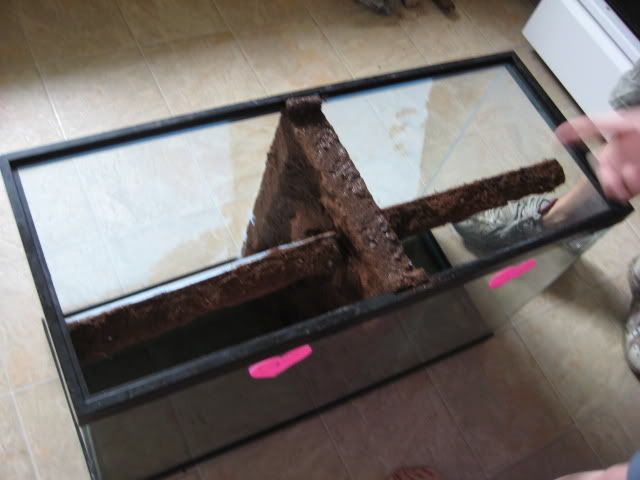
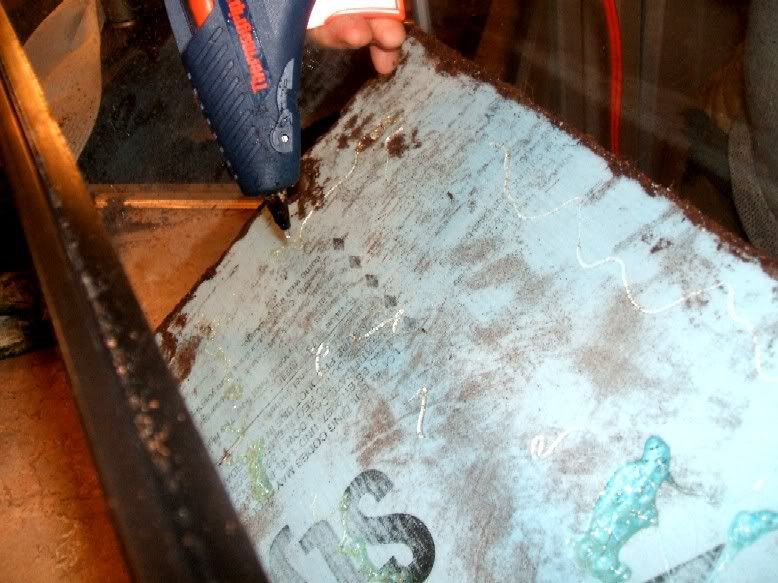
Glue the backdrops in one at a time being sure to lift the backdrop up so it meets the top of the tank - do this fast before the glue dries.

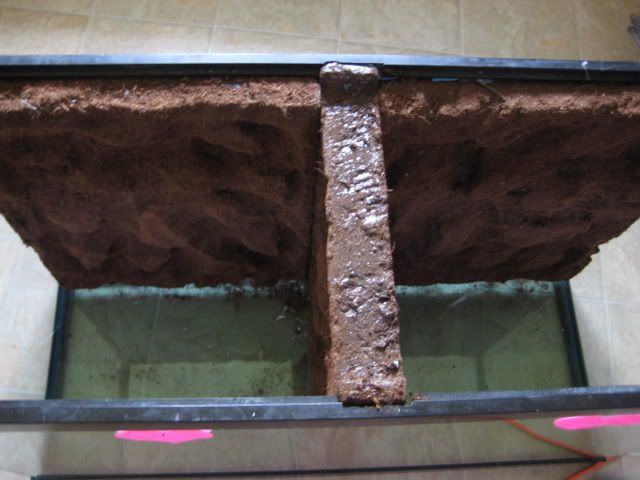
This is what it should look like at this point:
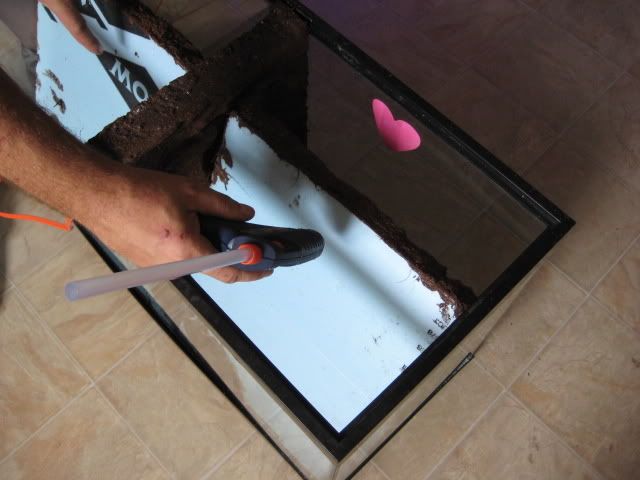
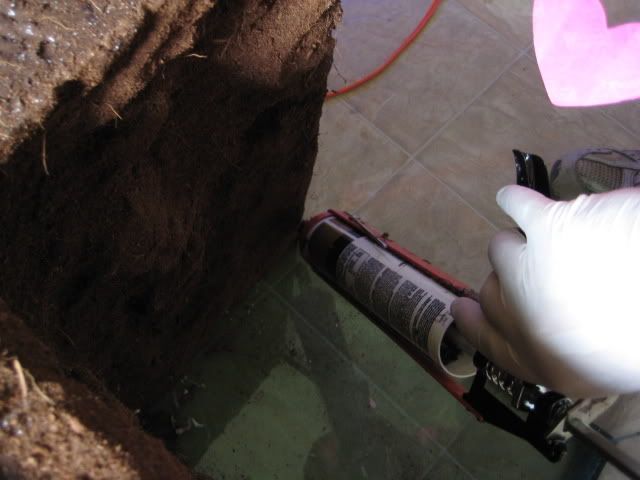
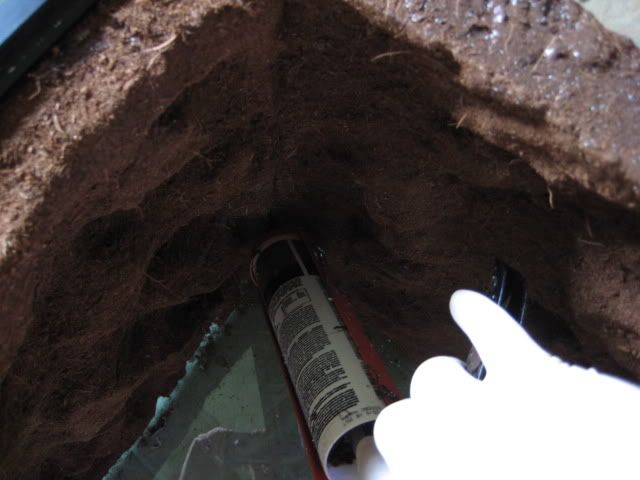
Step Eight:
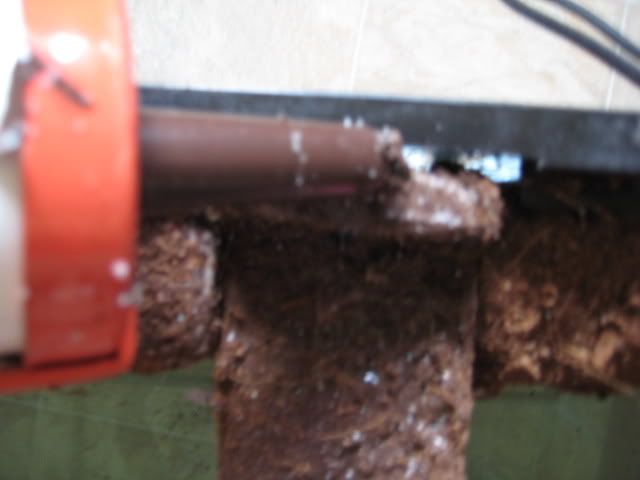
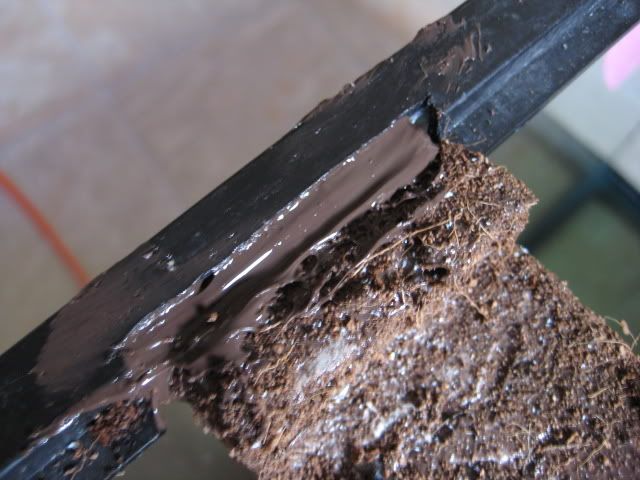
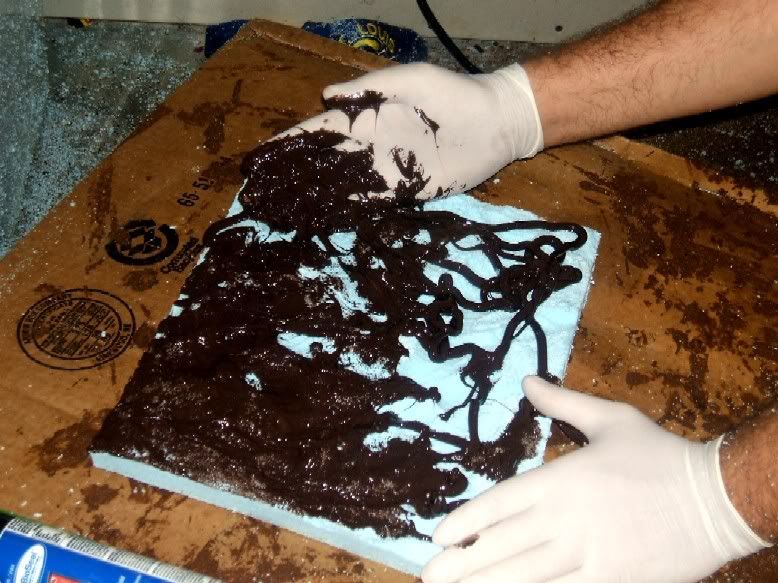
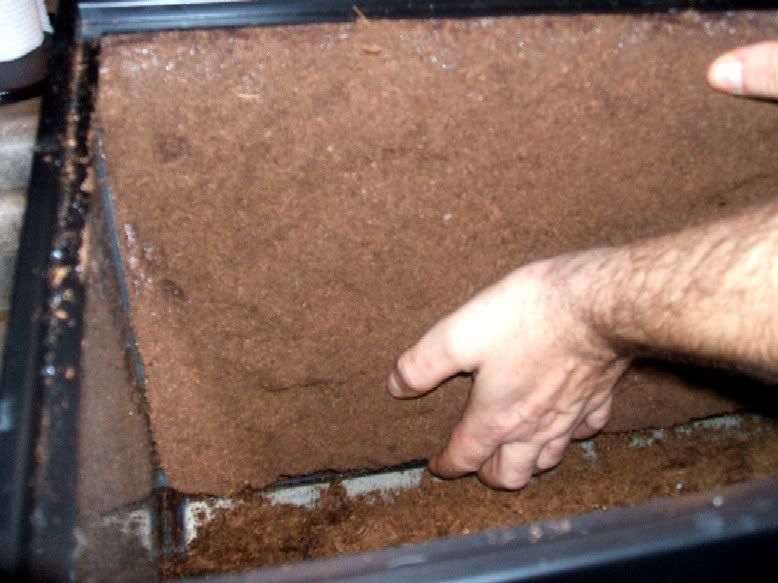
Caulk the gaps on the notches where the divider meets the tank. Also caulk where the divider meets the backdrops and where it meets the tank. Put the caulk on, smear it and add substrate:
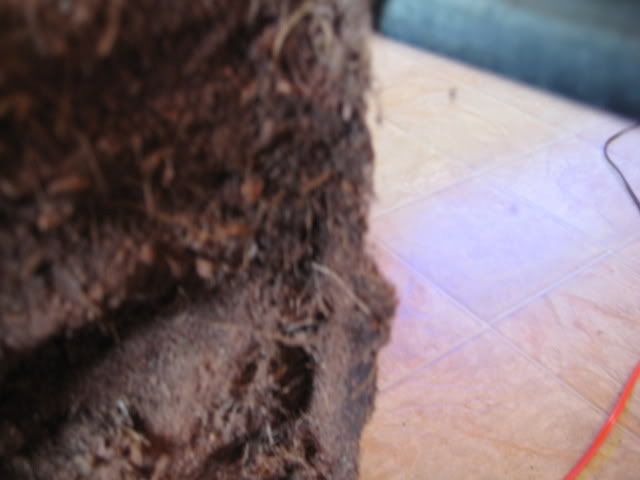
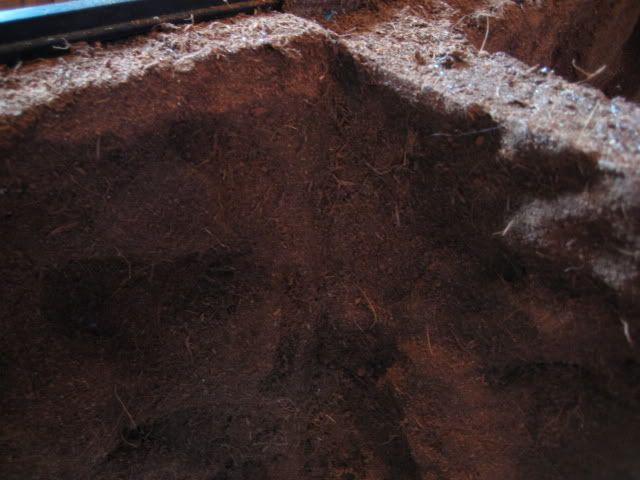
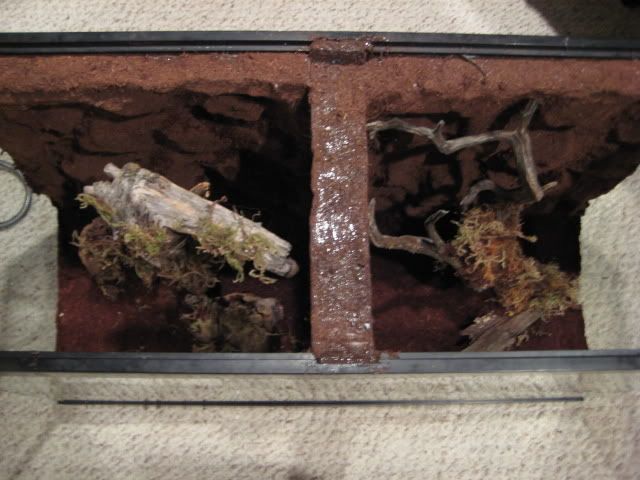
This is what it should now look like:

Step Nine:
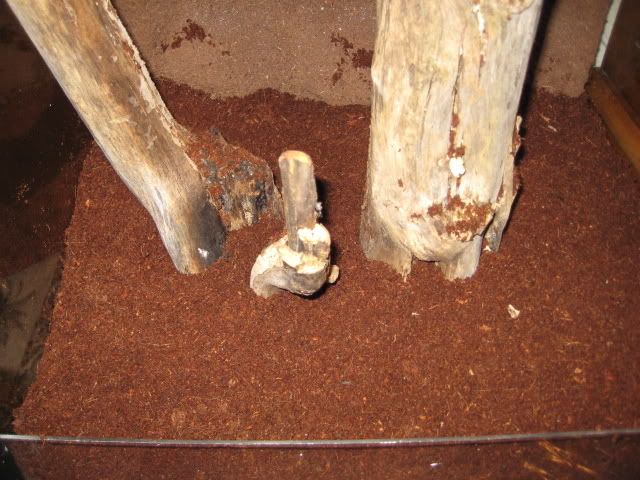
Add the wood pieces as you like - glue into place on the bottom of the tank. You may need to use some support on some pieces until the glue dries:

After the wood has been added:
Step Ten:
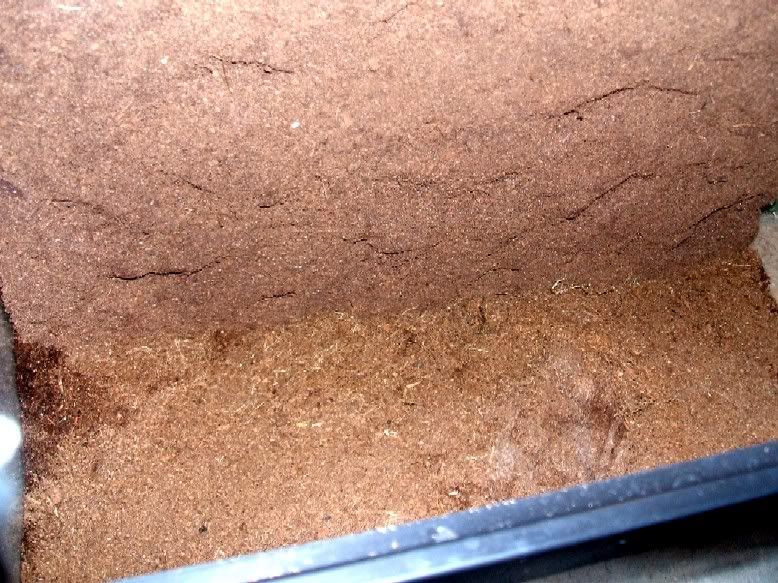
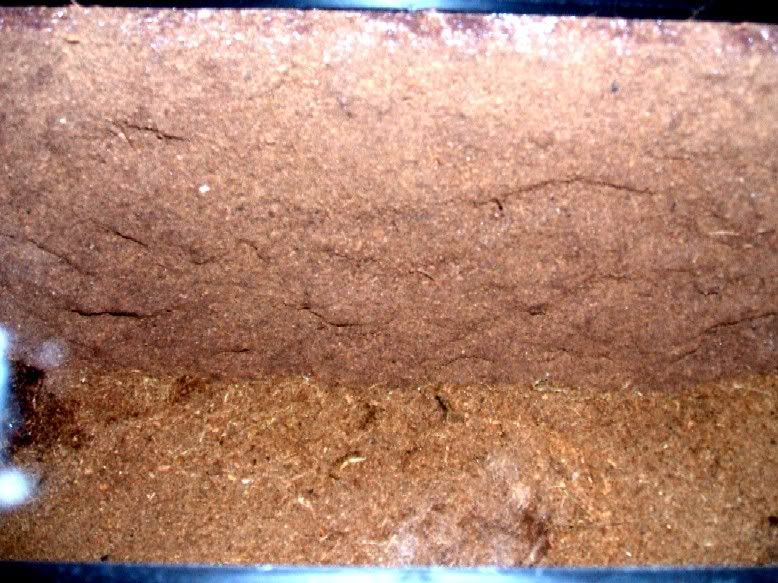
Add substrate to the bottom of the tank:
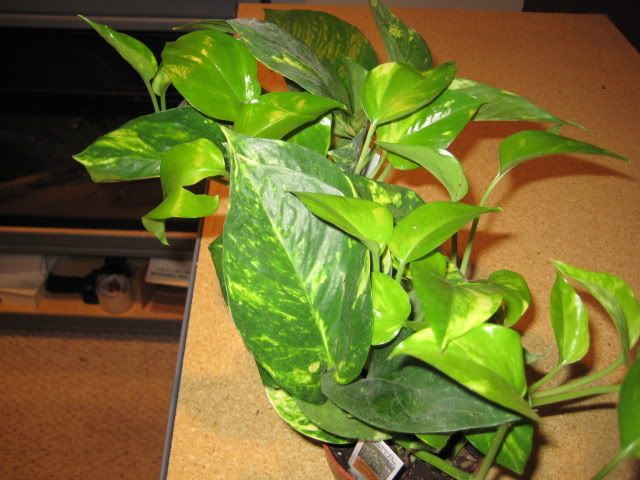
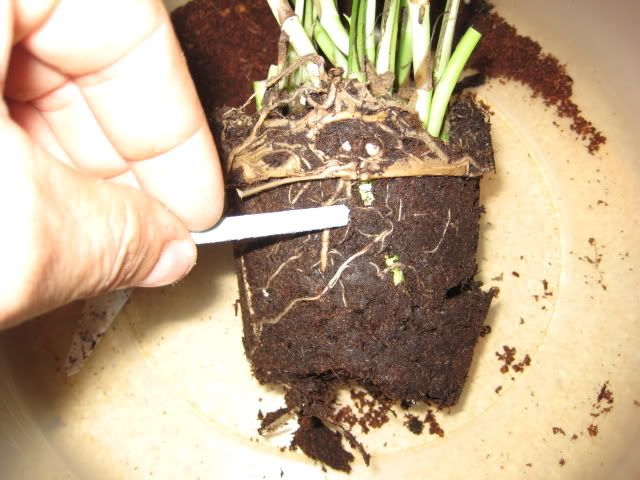
Step Eleven:
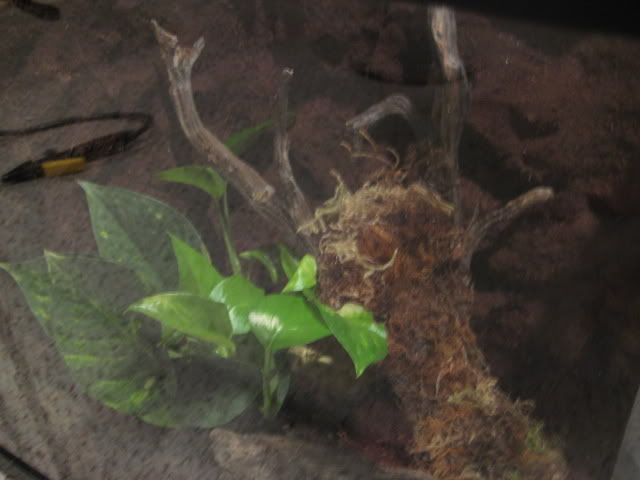
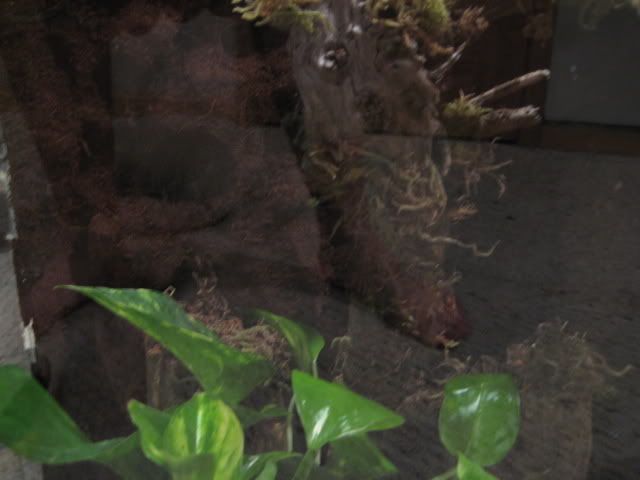
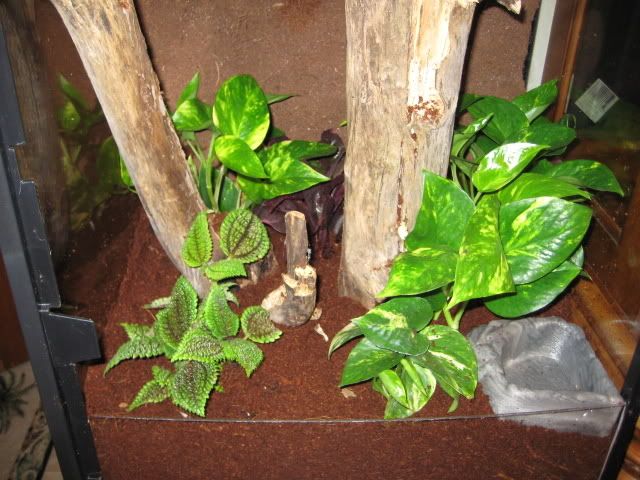
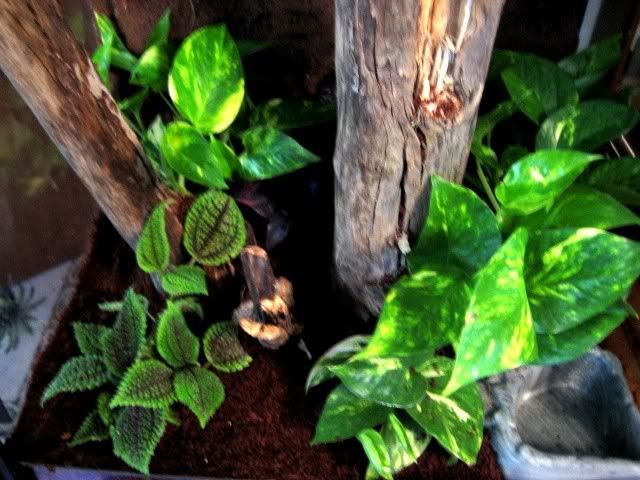
Add plants - putting in a fertilizer stick into the root system first. I prefer to use Pothos plants...they grow well in low to no light.
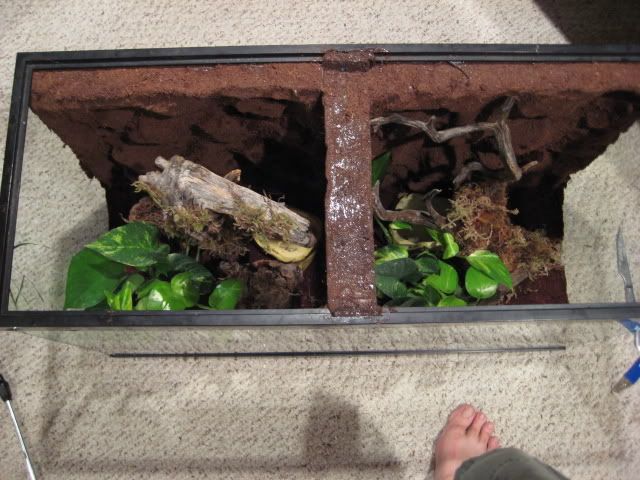
Finally! Enclosure is now complete! (Sorry for the bad glare...there is a video below that looks a little clearer)
Video:
http://s234.photobucket.com/albums/...ion=view¤t=PMurinusvideotutorial_02.flv
My new Poecilotheria fasciata enclosure - step by step pics
I ordered a 6" female Poecilotheria fasciata from Reptist yesterday (great communication - can't wait to get her! Great guy to work with) so I needed to build her an aorbeal enclosure. Had fun doing this one...it's not quite what I wanted to do. I still will be building a 9' x 3' tri-level communal pokie tank...but this one will do for one or two. It's 4' x 2'....check it out! Sorry, no spider in it yet...will be tomorrow! Rob
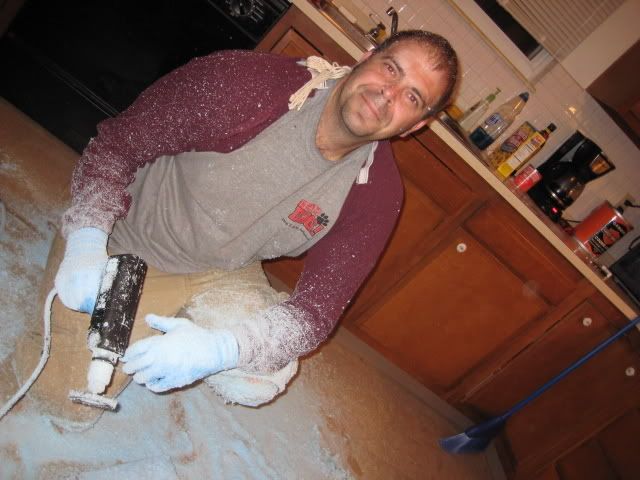
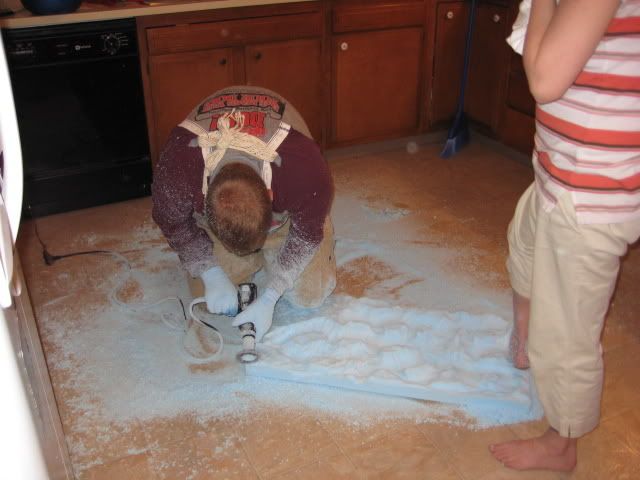
Here I am at step 1: carving the back drop - quite the messy project! Thankfully my wife is understanding... :O)
Finished back drop - after adding caulk & substrate:
Adding wood pieces (after baking to 400 degrees) we found in the woods near our house - the key to any natural-looking enclosure (buying from a store leaves something lacking I feel):
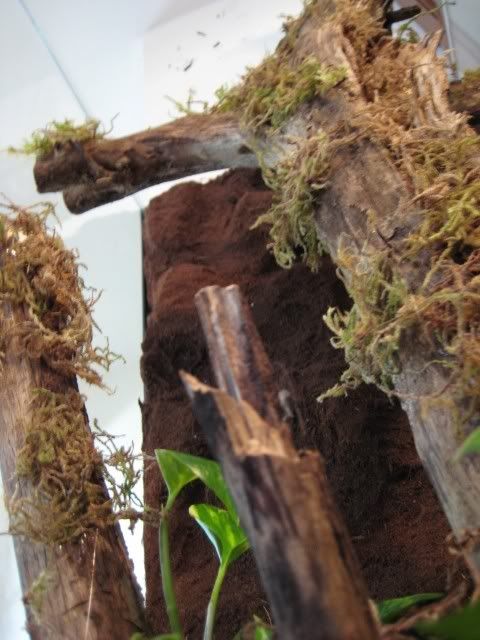
After the wood is all glued in:
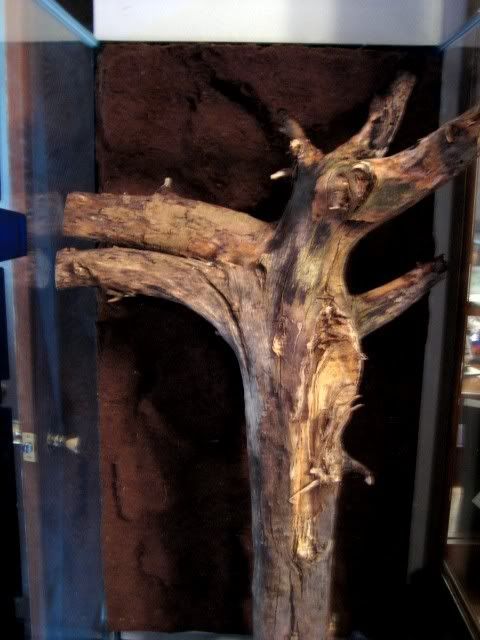
More wood added to give it that natural look since there's never just one tree in the woods:
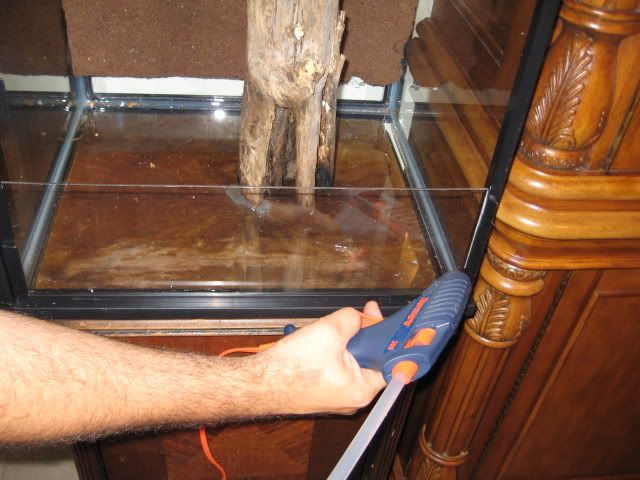
Adding the plexiglass piece on the bottom front to keep in the substrate - always a min. of 6":
Added the substrate to the bottom:
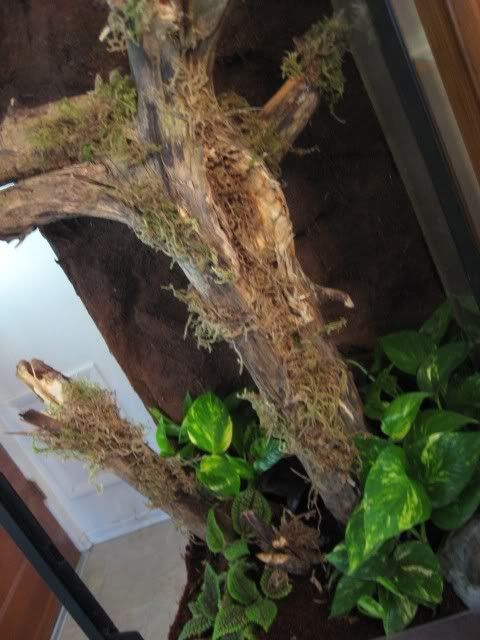
Adding the plants...arranged how you might find them in the wild:
Finished enclosure:
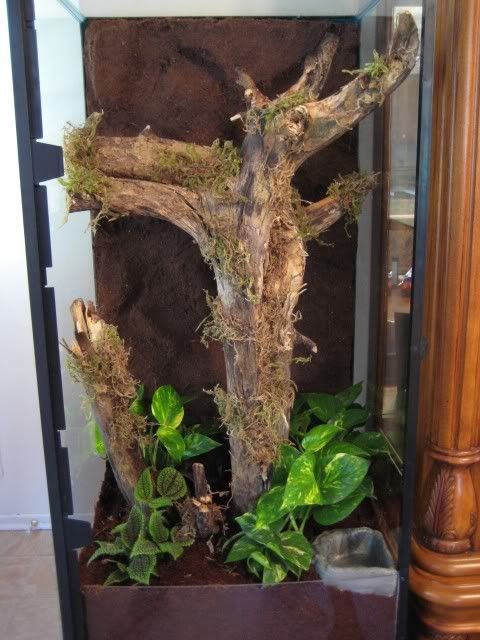
Looking up:
Robc's Poecilotheria fasciata enclosure lid pic tutorial
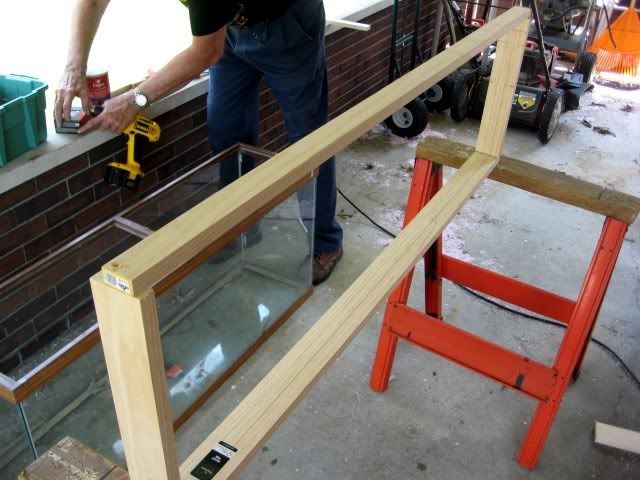
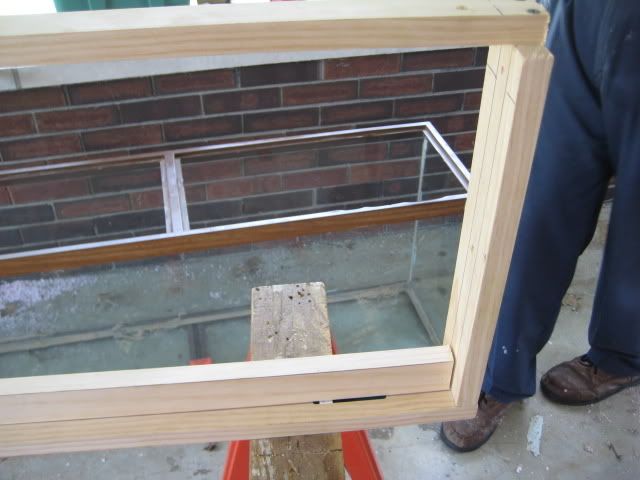
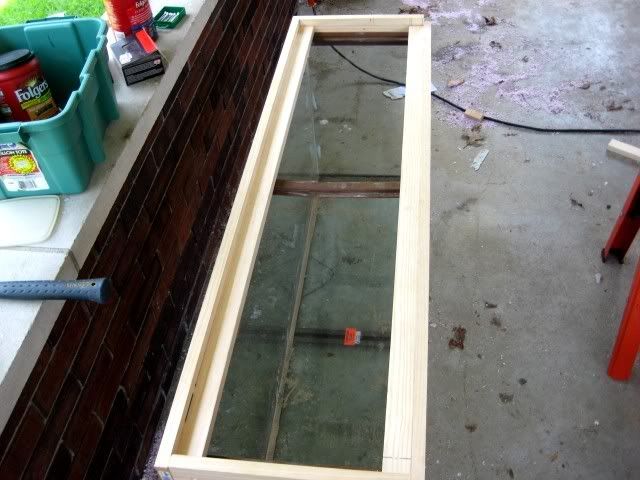
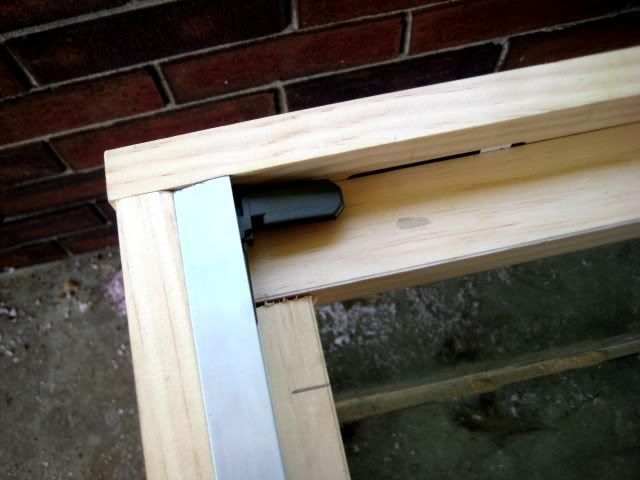
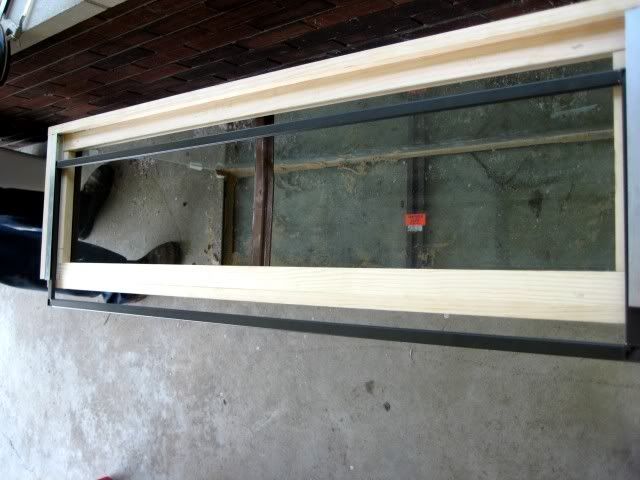
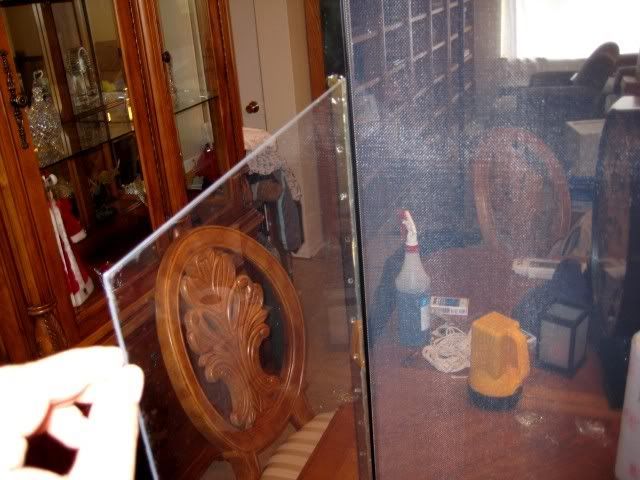
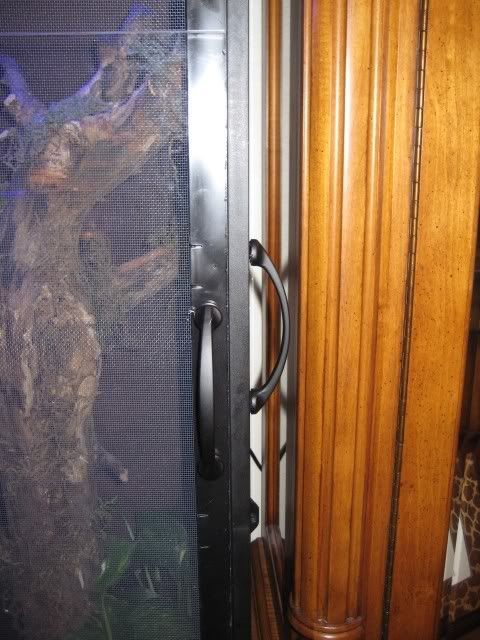
I had a lot of people asking about what kind of lid set-up I use. The lid set up I use is a sliding lid with a plexigass front mounted on a hinge, I do this so I can just swing open the plexi-glass front and mist the cage and then shut it to hold the humidity. I find this more effective than having a full plex-glass lid and having to open the lid everytime I want to just mist the cage..
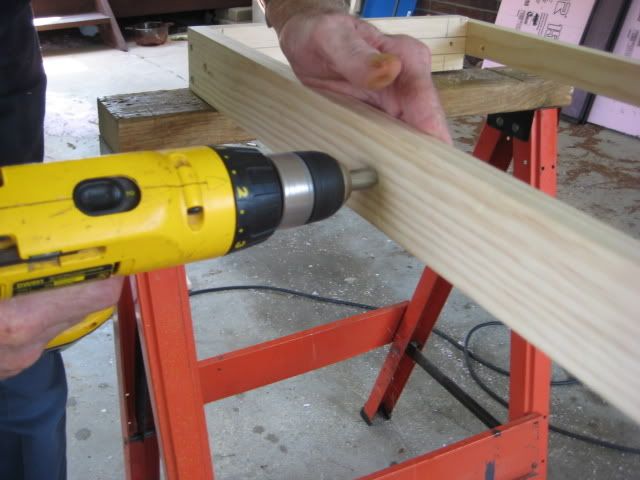
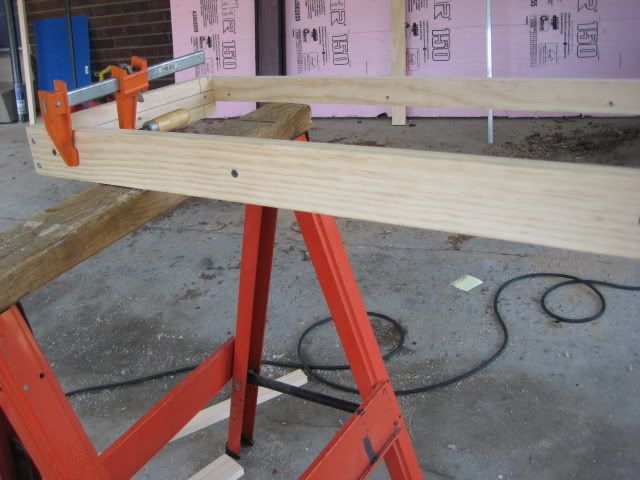
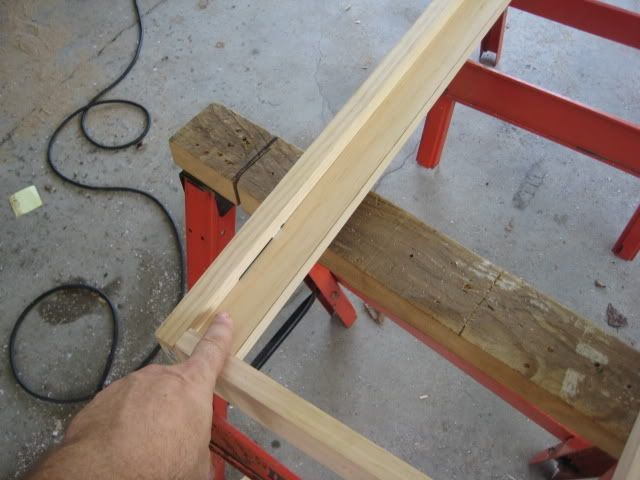
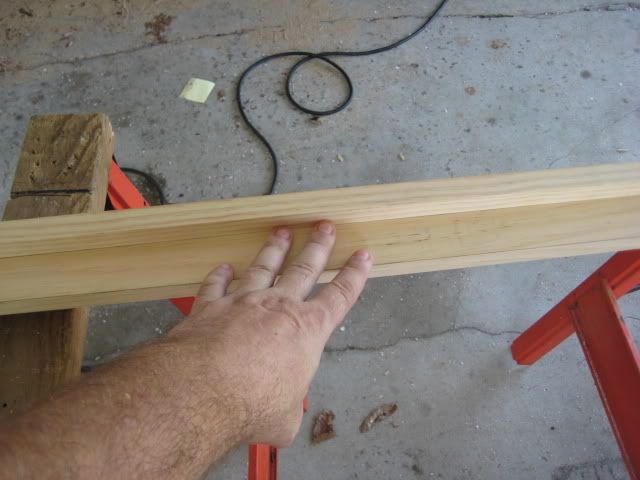
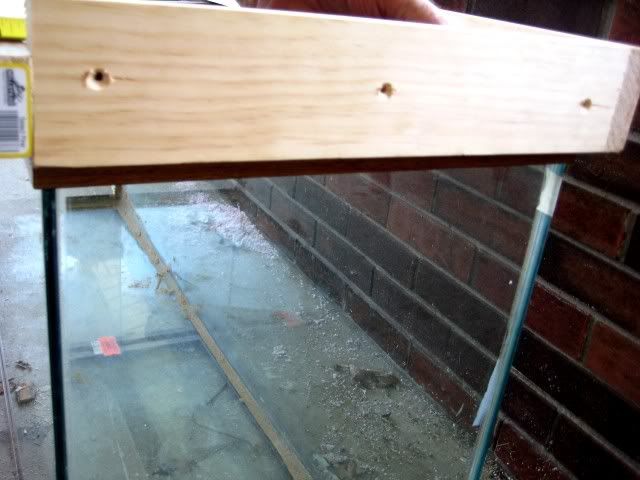
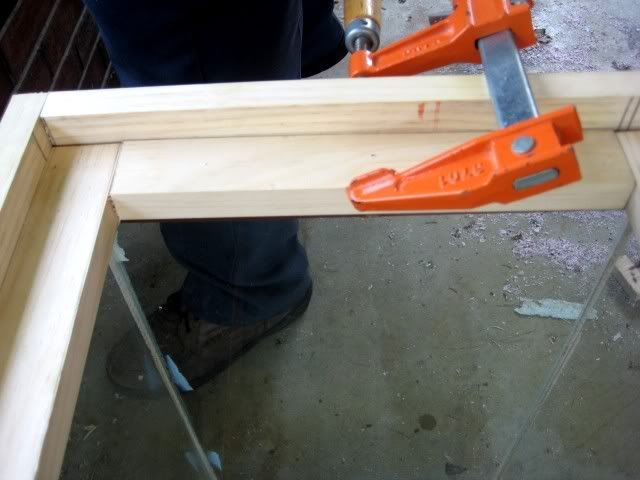
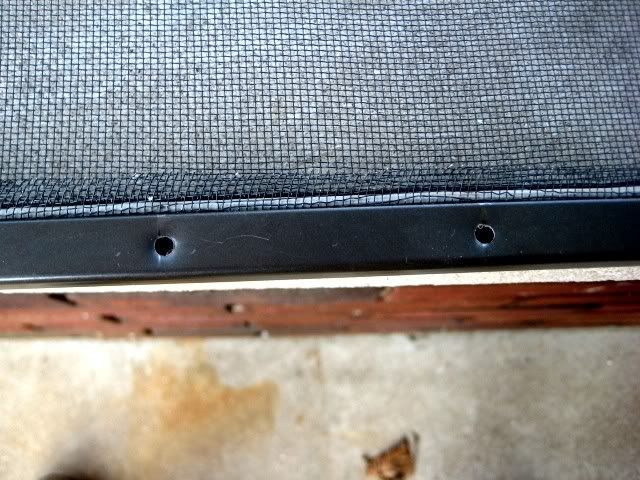
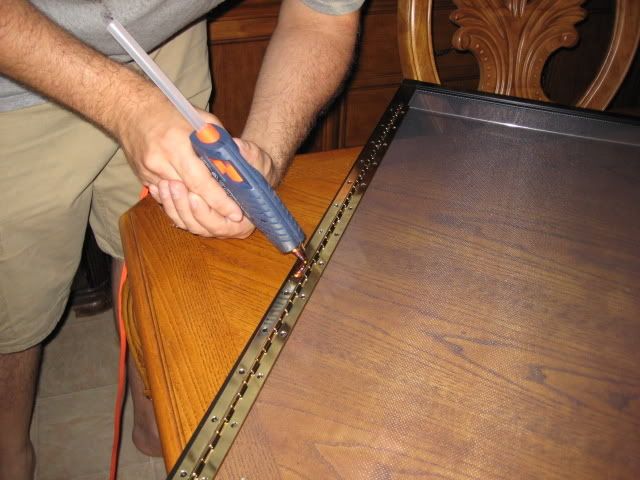
Step 1: Cut plexi gass to desired height and make sure it over laps on right side over scree and comes just to the edge on the left and glue hinge to outer rim of the lid. Then glue plexi gass cover to the otherside of the hinge. Tip: Do this fast or the glue will dry before you set the hinge/plexi-glass in place.
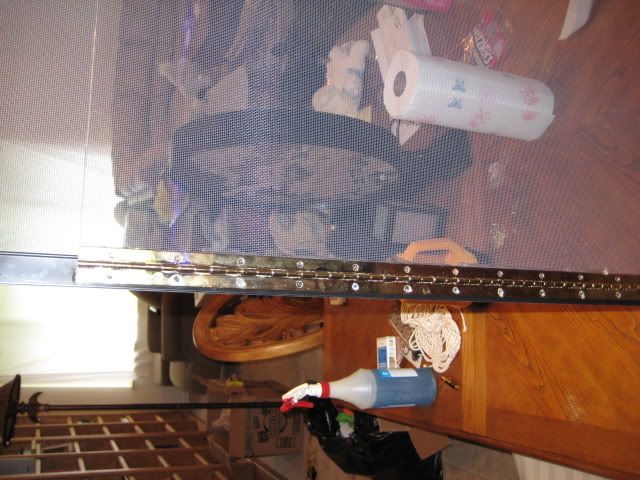
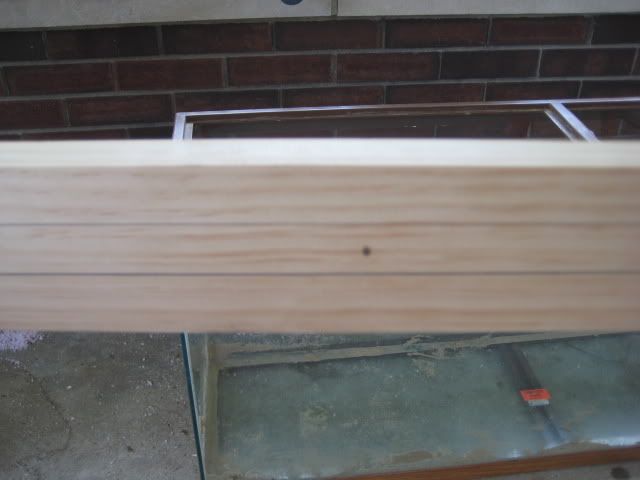
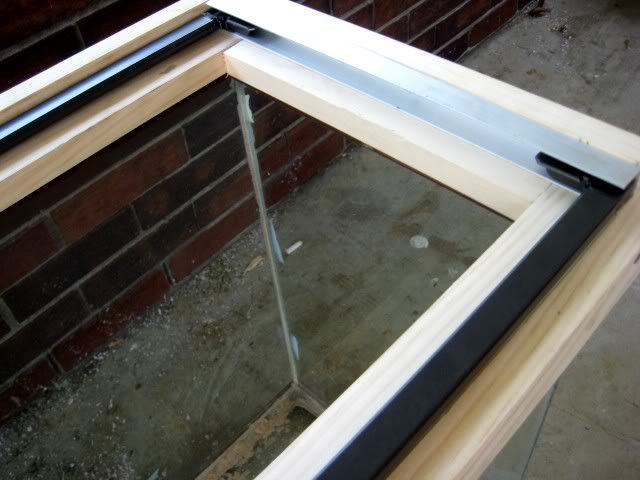
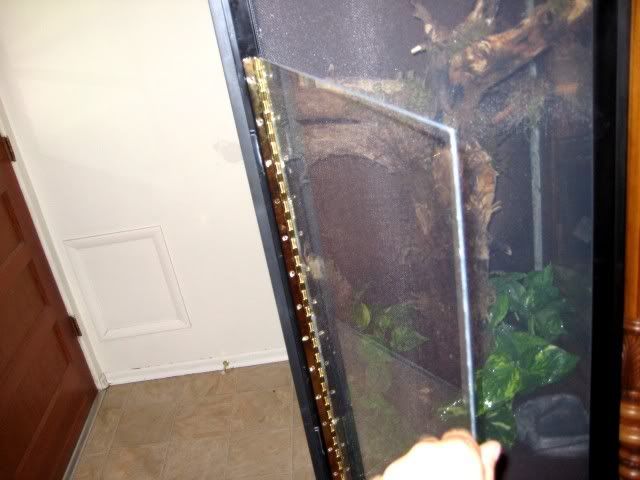
step 2:
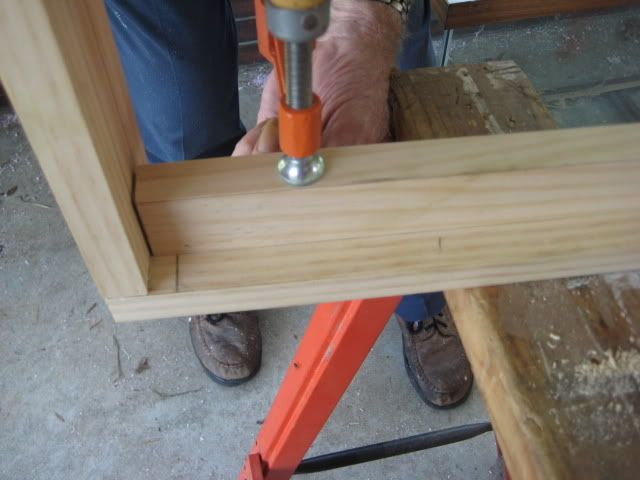
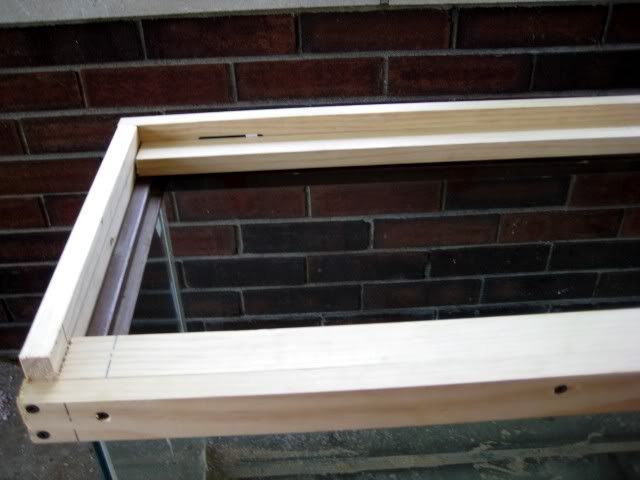
After glue dries open and shut hinge to make sure it operate's correctly. Put lid on enclosure
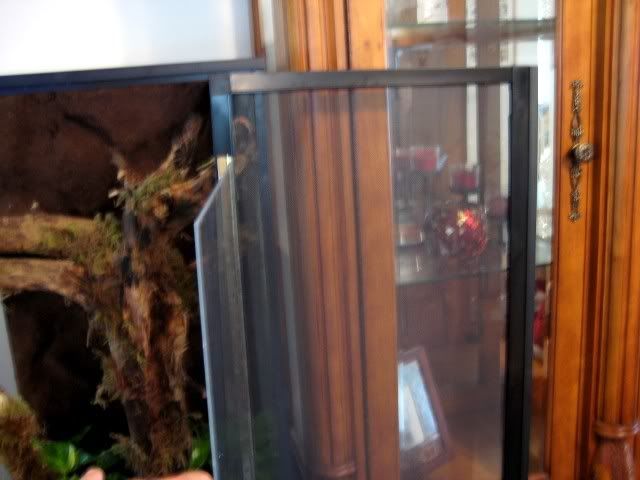
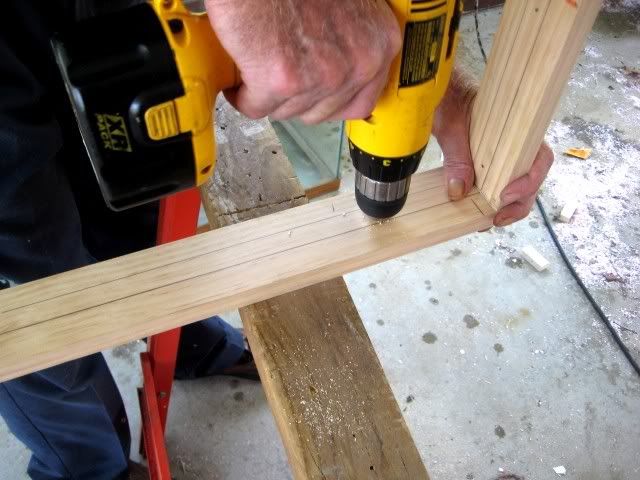
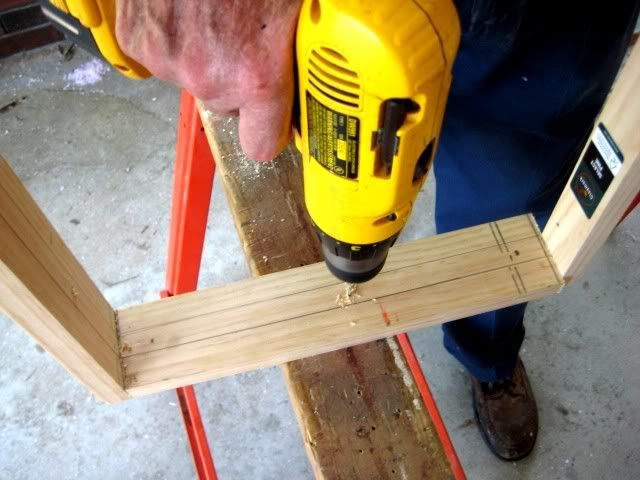
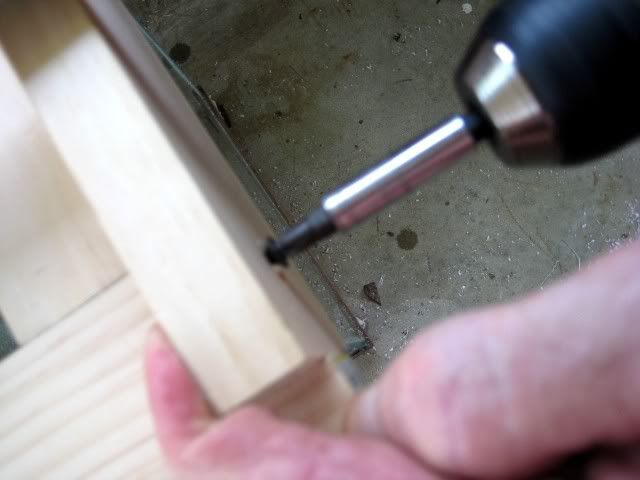
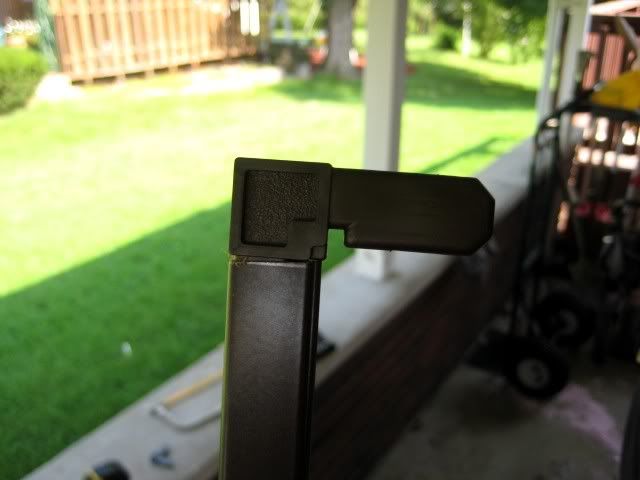
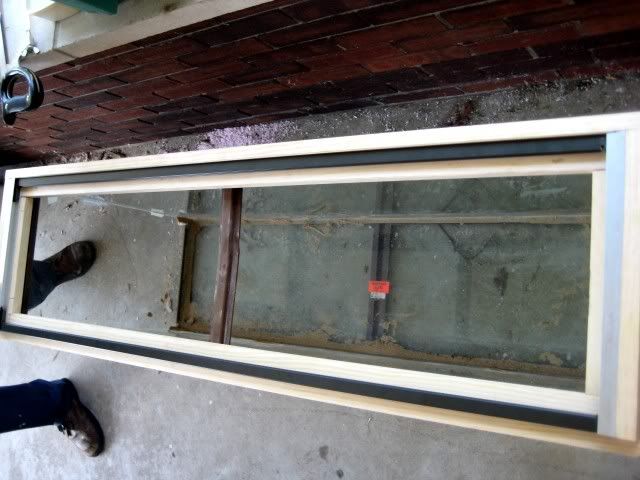
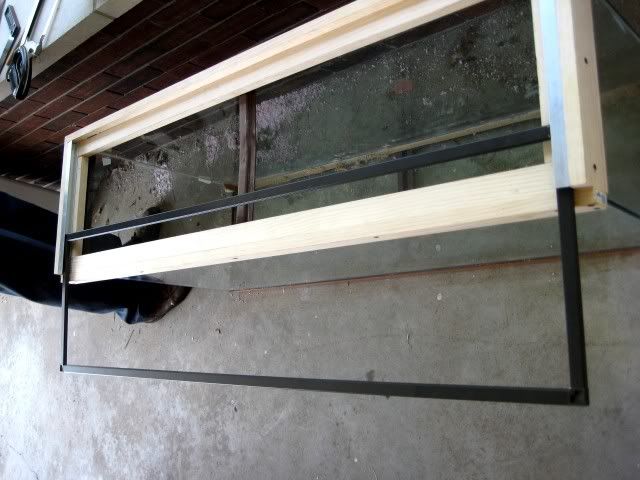
Step 3:
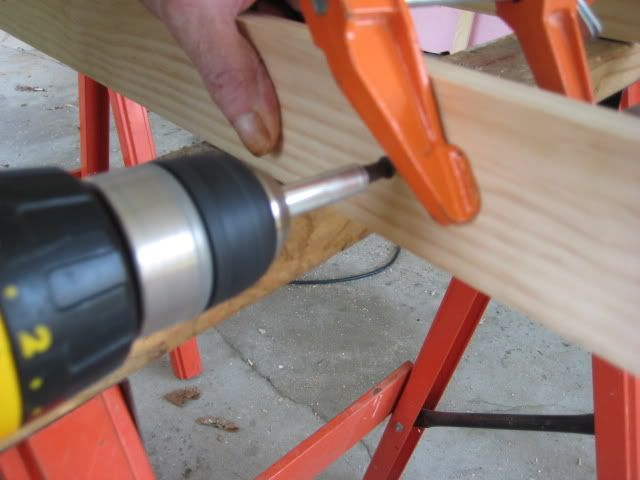
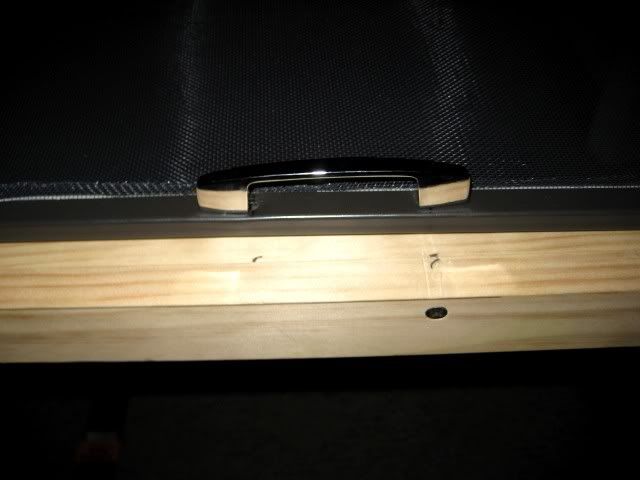
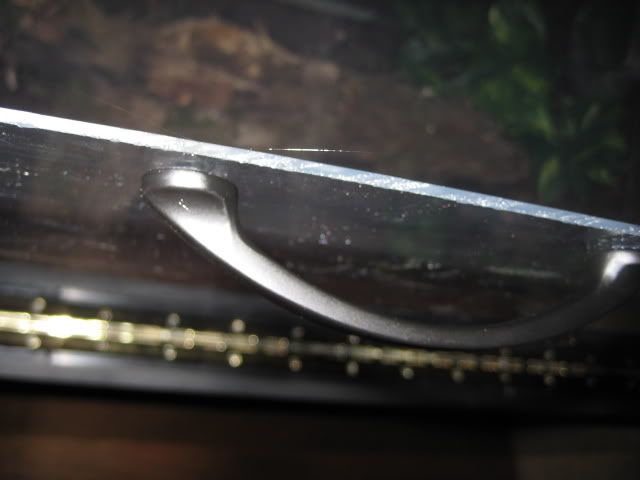
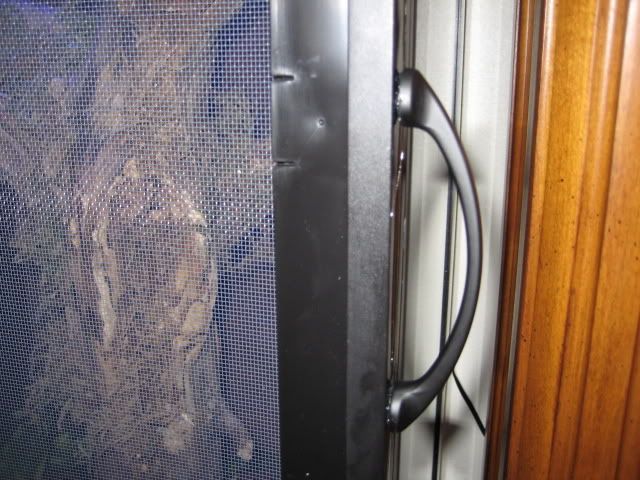
Install handles on plexigass front and side of lid.
Revamped T.Blondi enclosure (step by step pics & tutorial)
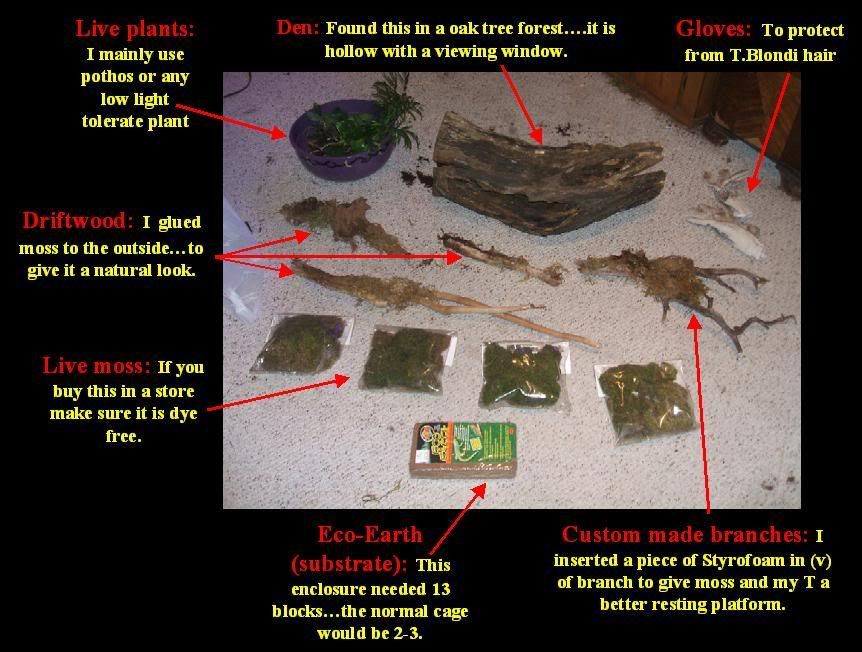
Had to redo my T. Blondi enclsoure because I couldn't clean properly. I found some great log pieces in the woods yesterday. The log I used is hollow and has a viewing window...I baked all pieces to 400 degrees to kill bacteria, pests... This tank is by far one of the best I have built in my opinon. Below are step by step pics of the process. Hope this gives others ideas. Sorry if the pics load slowly. Opinions appreciated....
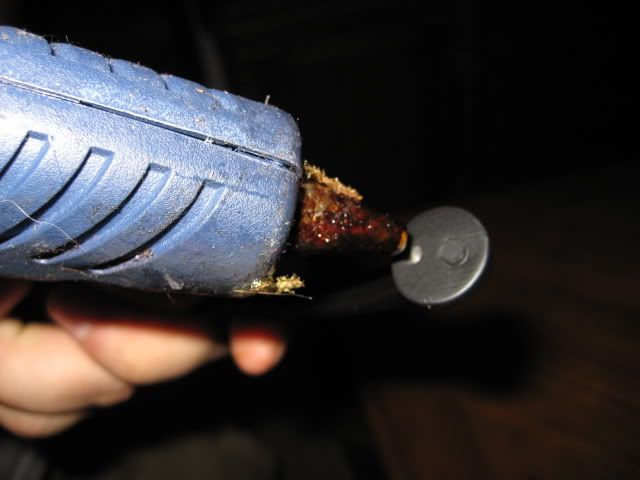
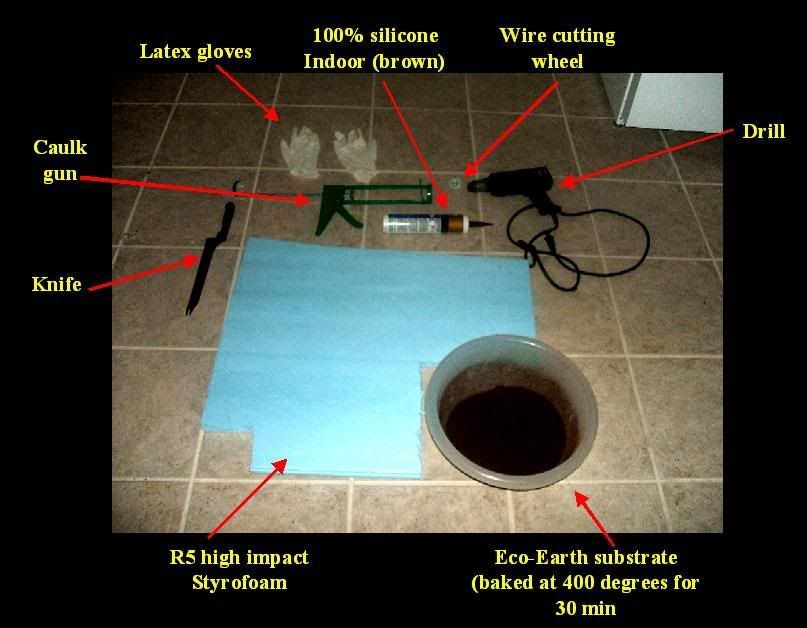
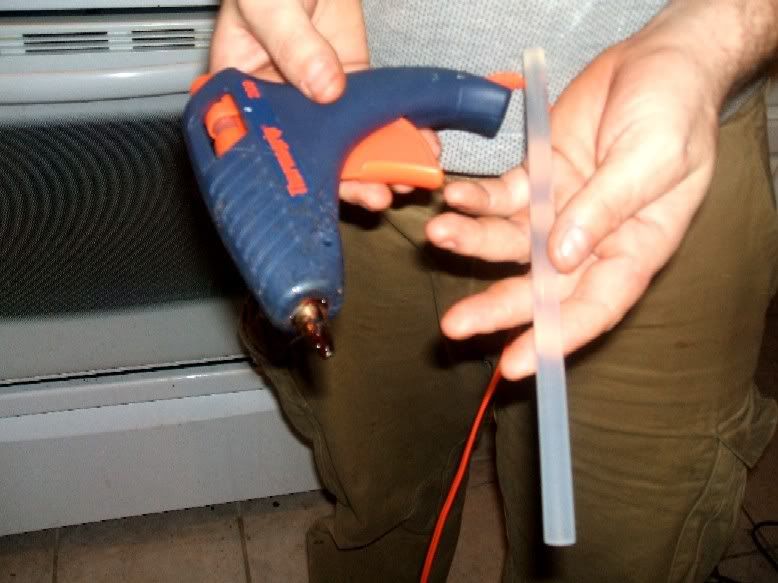
Tools Used:
Step 1
Fill the cage with substrate (I used 13 blocks of Ecoearth)

Step 2
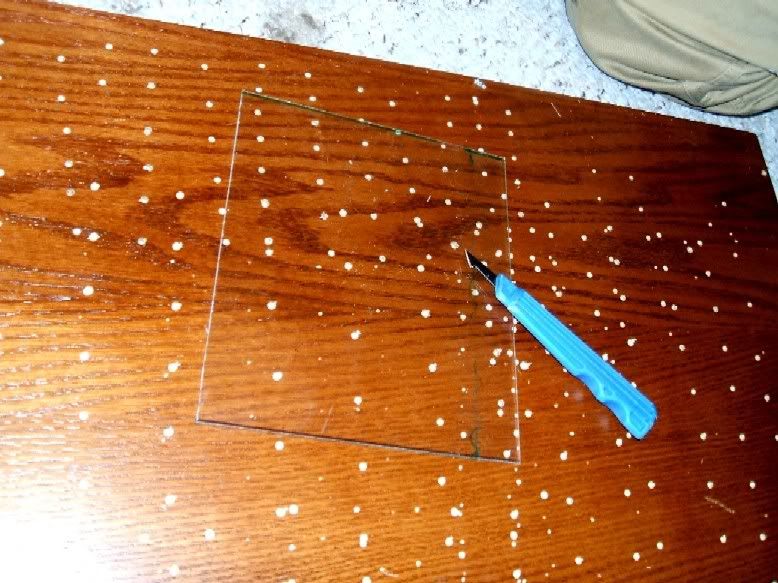
Cut the acryllic to size to prevent t. blondi from burrowing into the substrate.
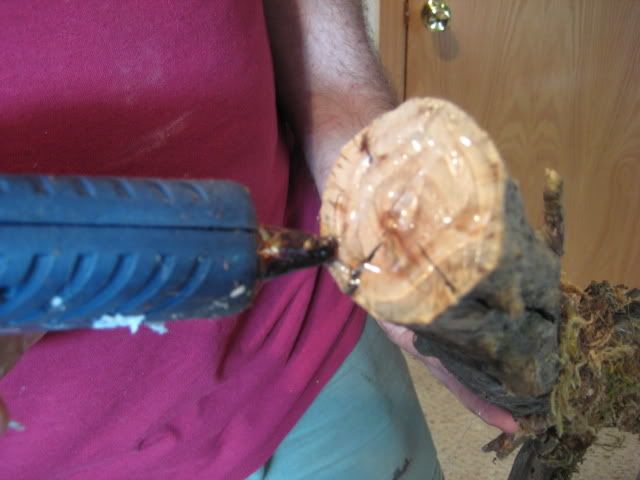
Step 3
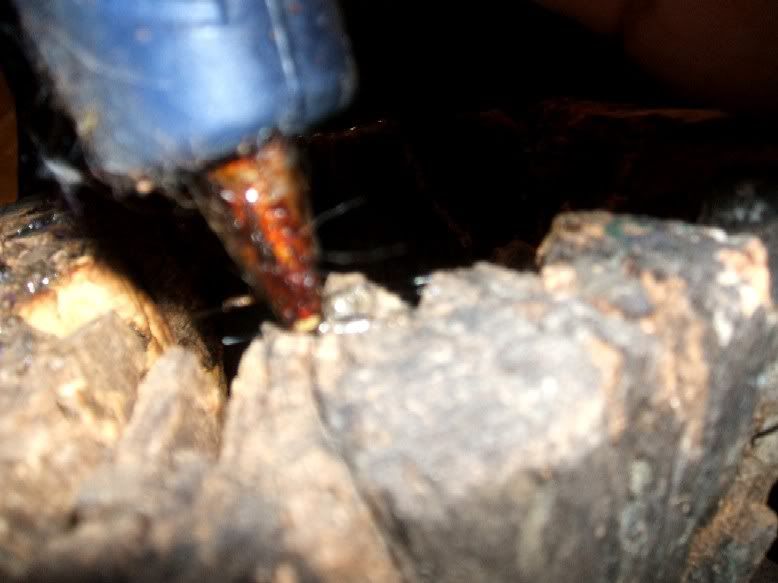
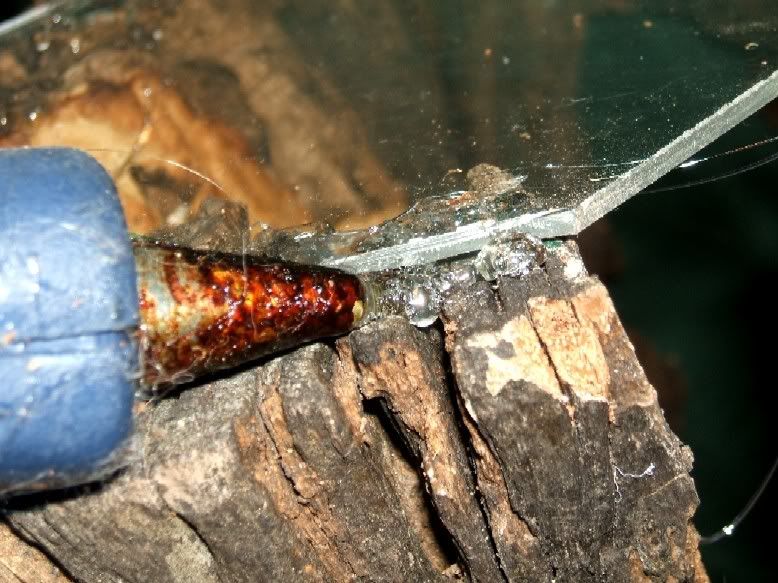
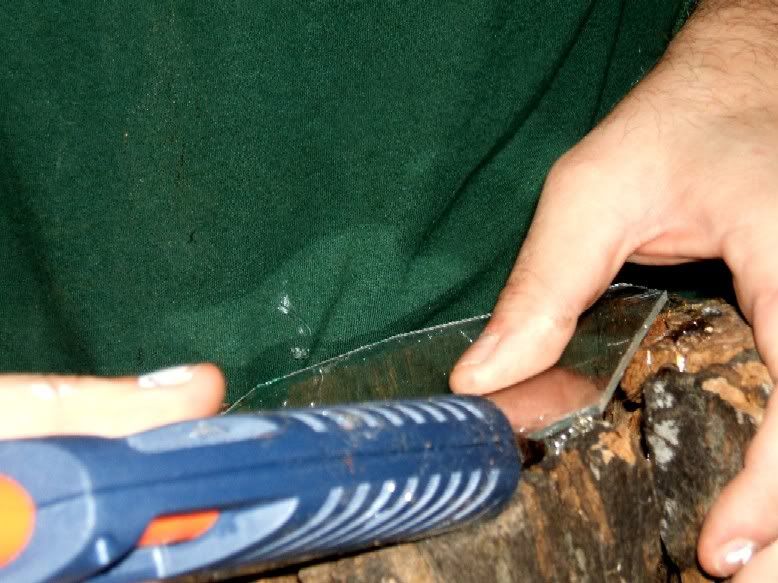
Hot-glue the acryllic to log
Step 4
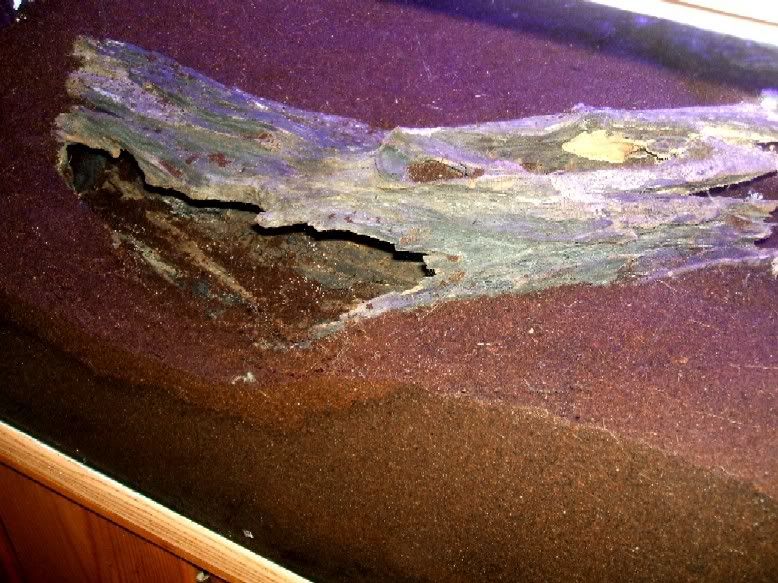
Move aside the substrate and position log
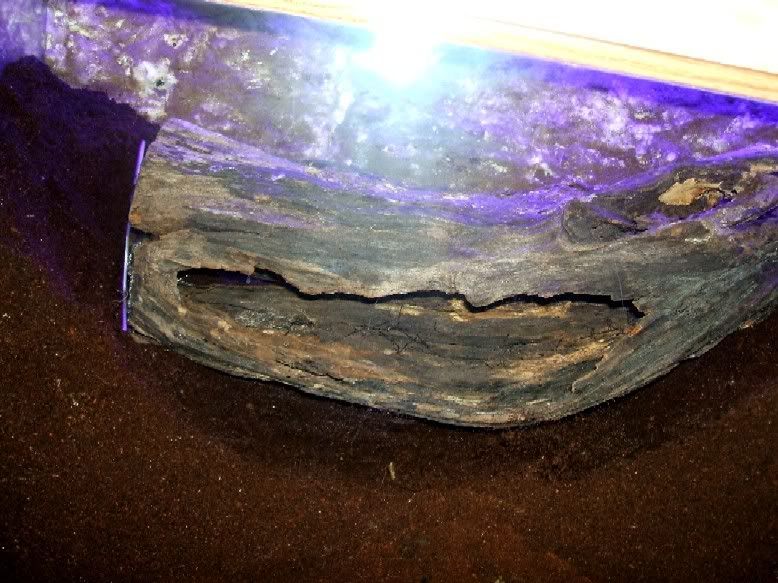
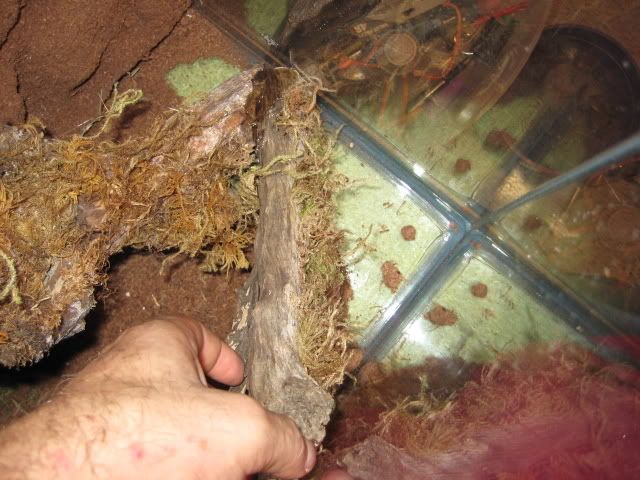
Step 5
Half-bury and mold the log in substrate to create a more natural-looking den
Step 6
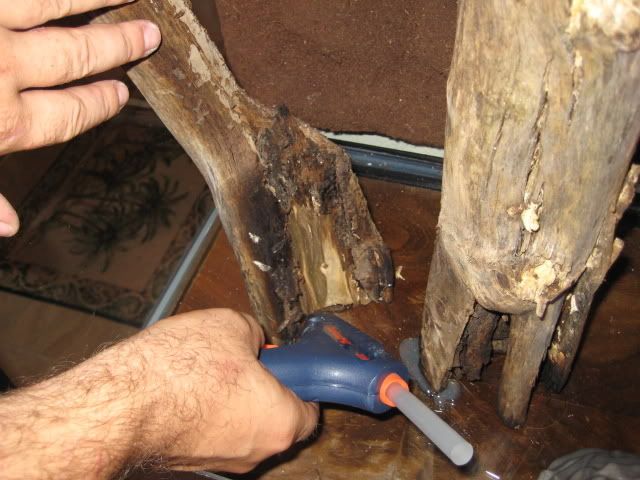
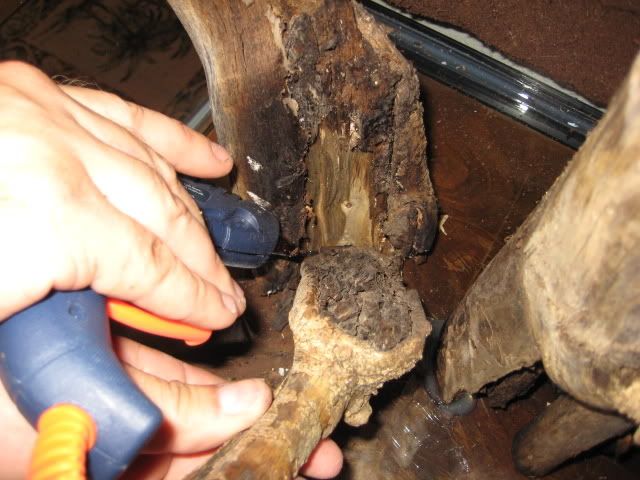
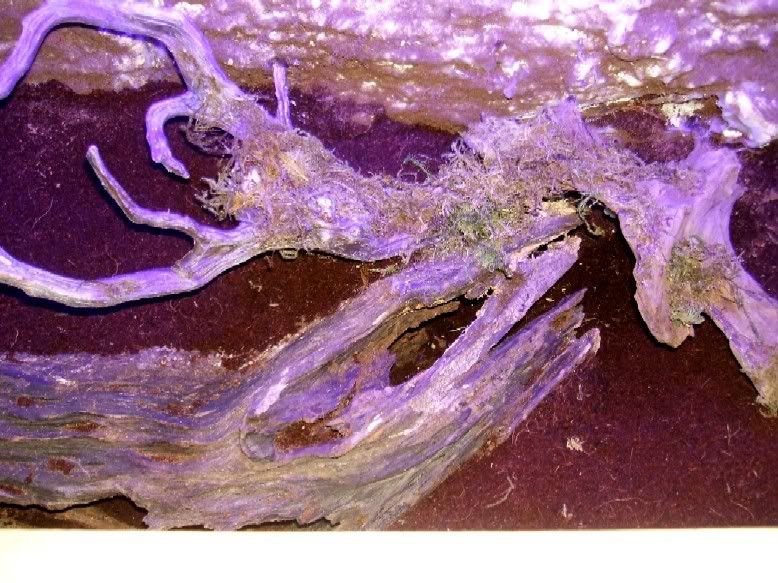
Insert driftwood. Push driftwood into expand-a-foam backing and glue in place until secure. Also glue to top of den
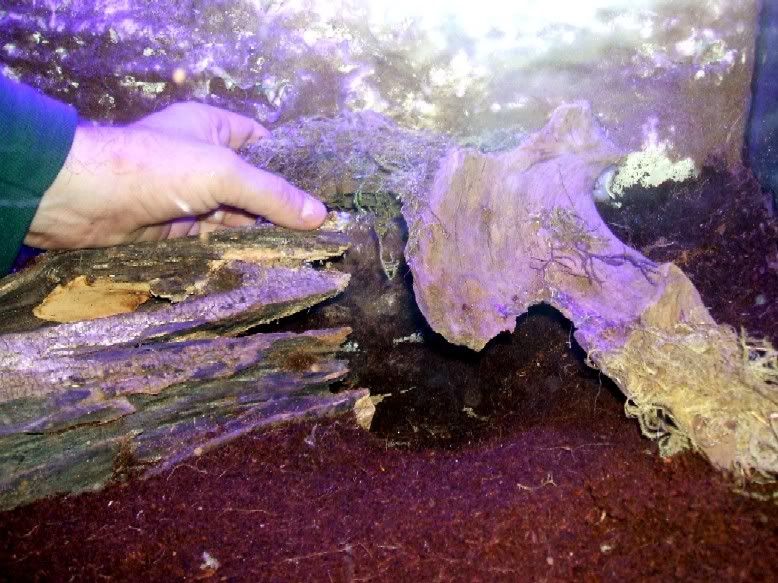
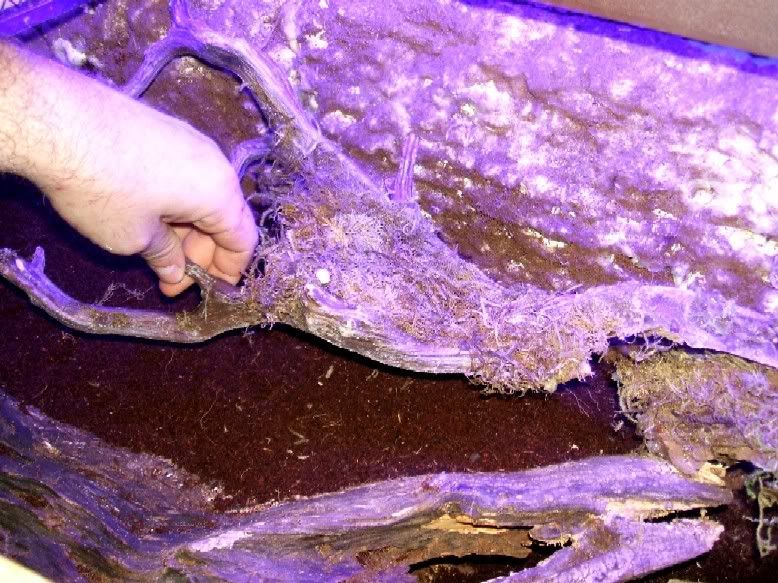
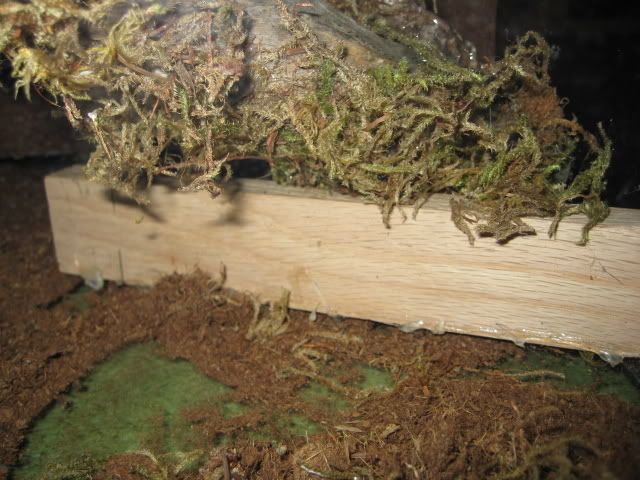
Step 7
Add dried moss to driftwood where it joins together to create a seamless look
Step 8
Add plants
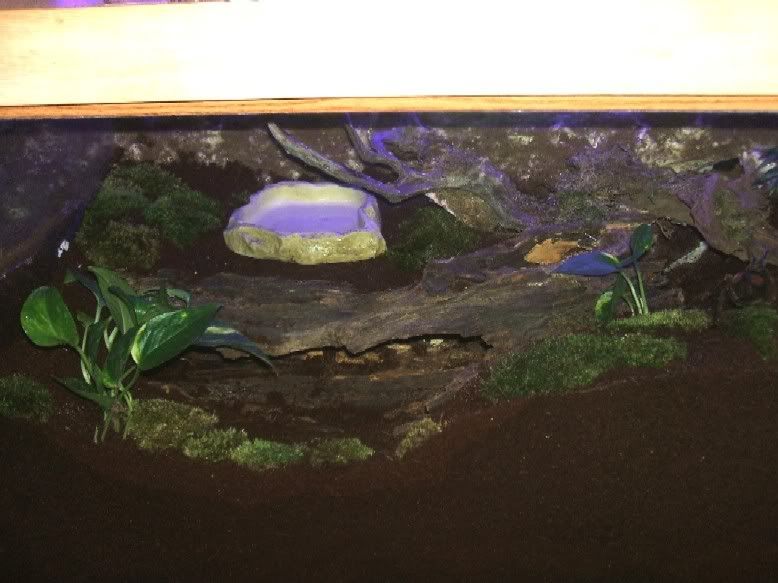
Before:
After:
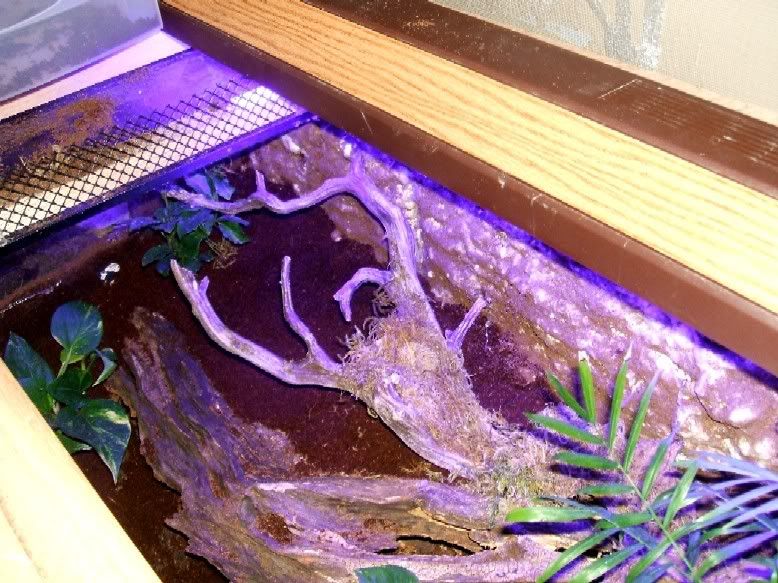
Aerial:
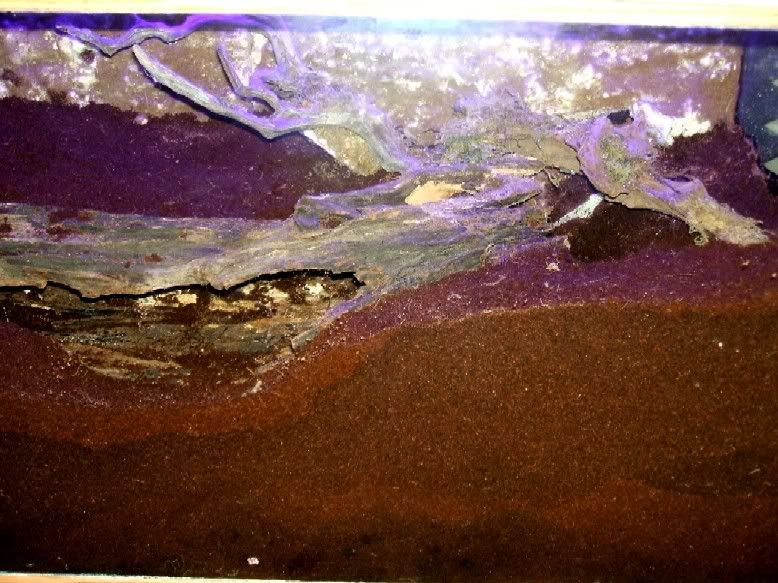
Step 9
Add moss. Wet the moss front and back and half-bury in substrate.
Step 10
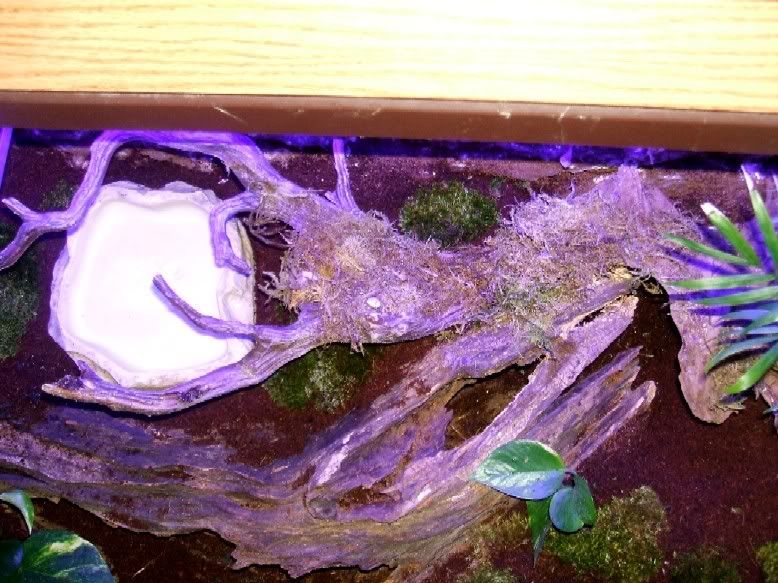
Add water bowl
Step 11
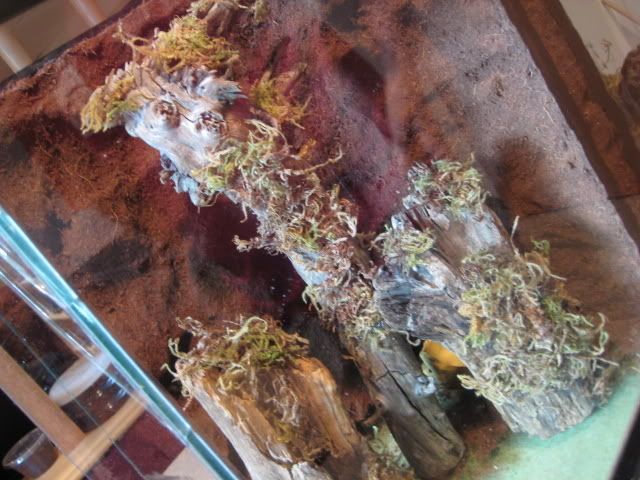
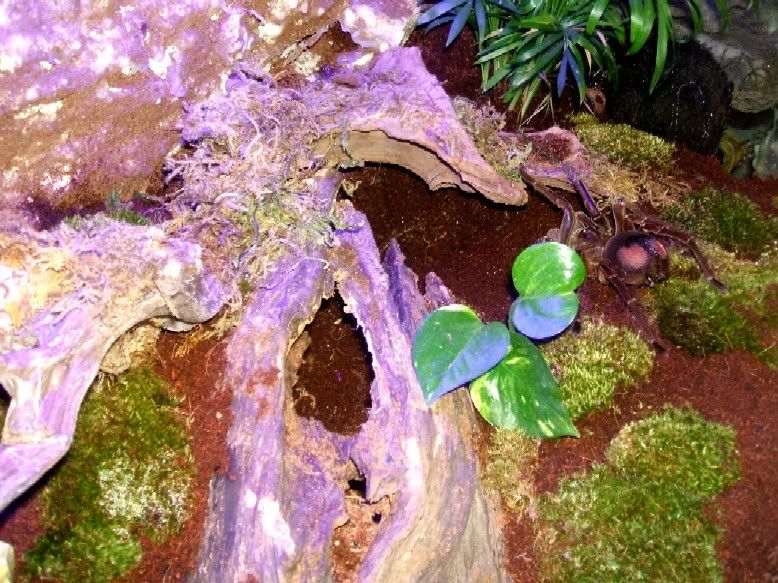
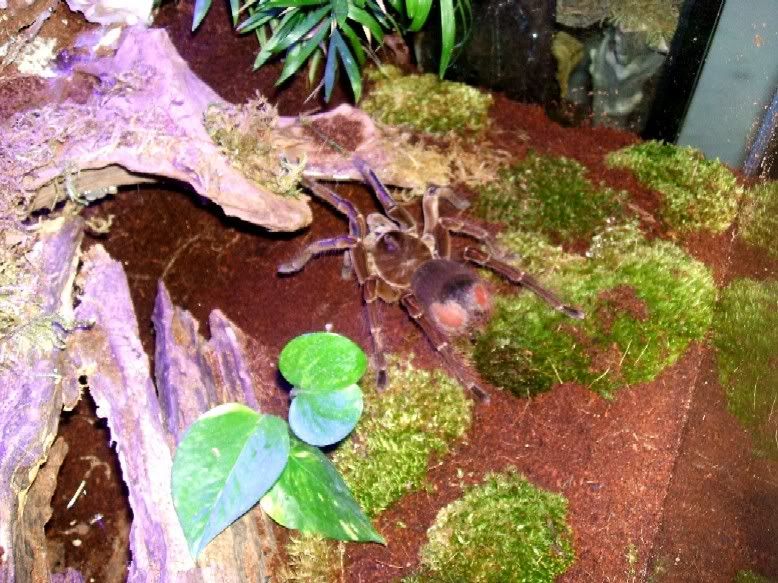
Add T...of course!

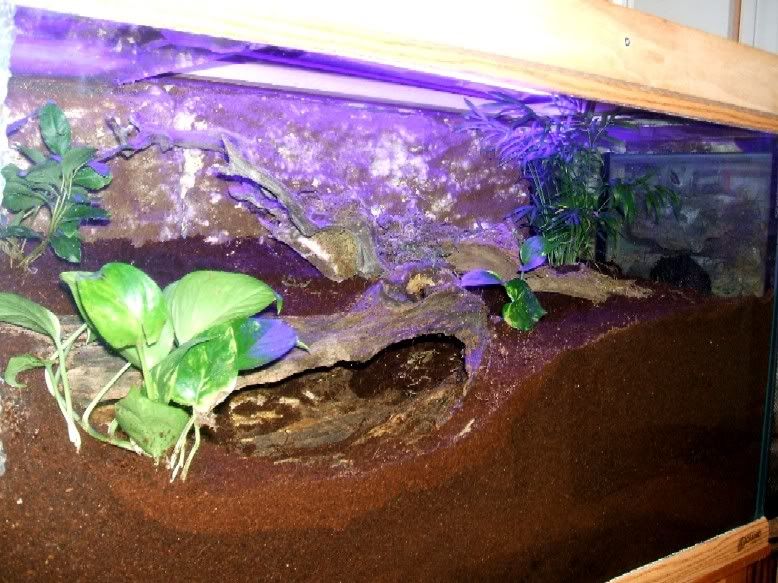
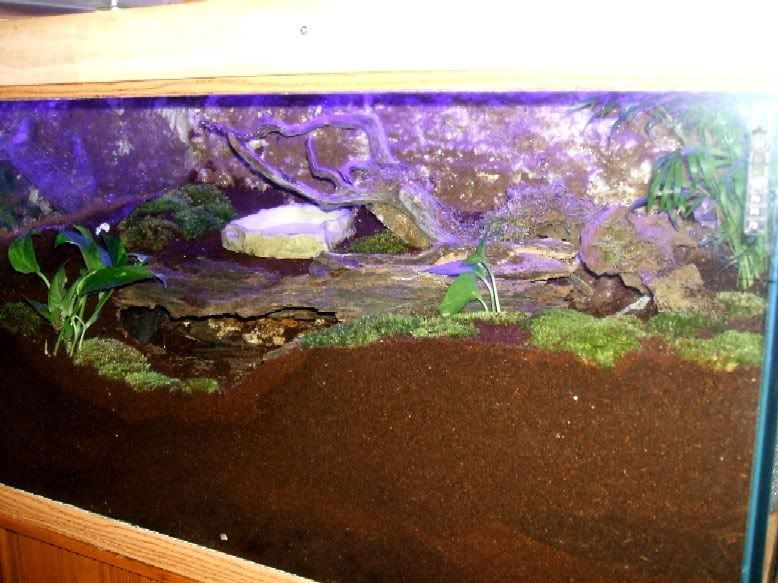
Finished enclosure:
My new P. Murinus split backdrop enclosure pic tutorial
I decided to take a tank and split it for my two female P. Murinus' but wanted to ensure they couldn't see each other - I'm planning on breed them and wanted them to each have their own private space. I didn't want glass or plexiglass as a divider so I decided to use one of my custom backdrops. The most important part of this enclosure is measurement - it must be dead on. A little off on your measurments means you end up with one fat T... The split lid can be purchased at most Petco's or repitle stores and it works perfectly for this enclosure. Let's begin (sorry about all the pics...there is also a video of the completed enclosure below):
Step One:
Notch the side of the tank where the divider is going to sit - 1/4" over the thickness of your foam...I use 2" foam and I recommend it.
Step Two:
Measure and cut your foam to fit snuggly inside the newly notched tank. Tip: make sure all pieces fit before texturizing anything.
Step Three:
Notching the foam so each side of the lid can move freely.
Here's the lid I used - the only one that will work for this type of enclosure. They come in various sizes:
Step Four:
Make sure the lid and foam meet perfectly...don't want any escapees...
Step Five:
For the divider only - not the backdrop pieces - measure the thickness and don't texture that area where the divider and backdrops meet...you'll want it flat to fit tightly.
After texturizing the divider notice the flat area that wasn't texturized. That's where the backdrops will meet the divider. Texturize both sides the same way. For more info on this see my previous tutorial entitled "Robc's 3D Backdrop Tutorial".
Step Six:
After backdrops are texturized and caulk & substrate have been added (and dried for at least an hour or two - I waited overnight) put the tank divider in - do not glue! Then position both backdrops as pictured below. I suggest inserting at an angle to avoid disturbing the substrate...keep in mind - it's a tight fit. A little force is necessary.
Step Seven:
Glue the backdrops in one at a time being sure to lift the backdrop up so it meets the top of the tank - do this fast before the glue dries.
This is what it should look like at this point:
Step Eight:
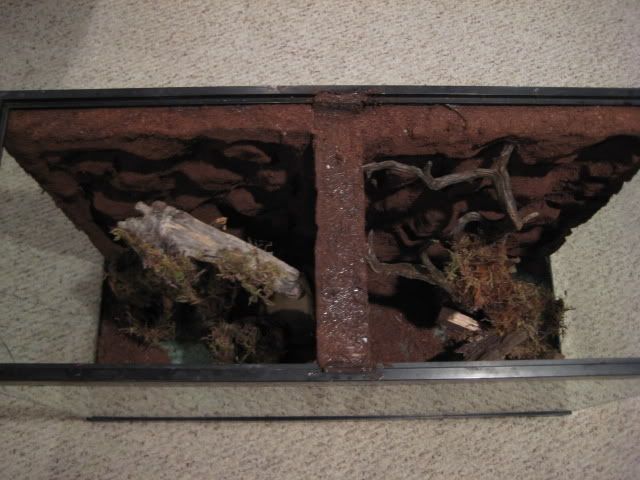
Caulk the gaps on the notches where the divider meets the tank. Also caulk where the divider meets the backdrops and where it meets the tank. Put the caulk on, smear it and add substrate:
This is what it should now look like:
Step Nine:
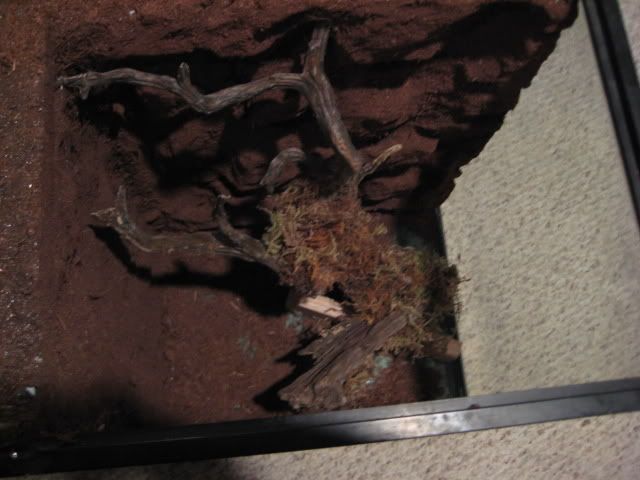
Add the wood pieces as you like - glue into place on the bottom of the tank. You may need to use some support on some pieces until the glue dries:
After the wood has been added:
Step Ten:
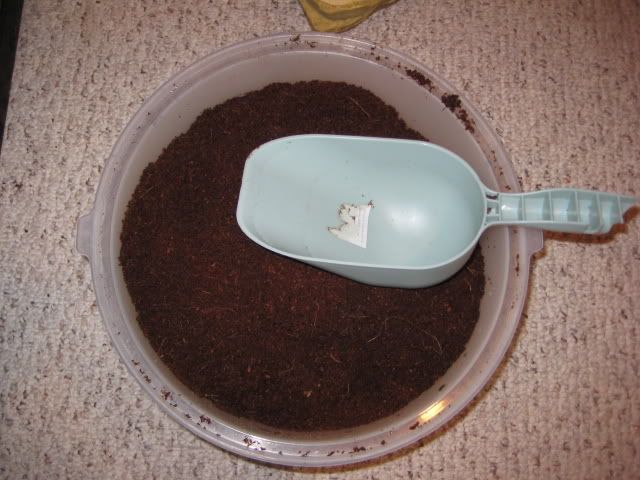
Add substrate to the bottom of the tank:
Step Eleven:
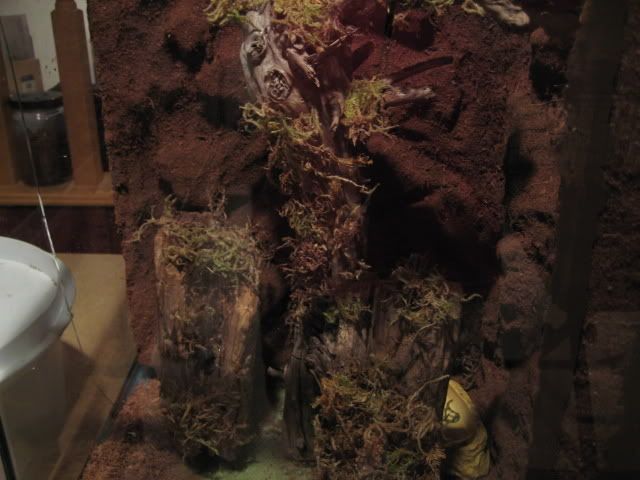
Add plants - putting in a fertilizer stick into the root system first. I prefer to use Pothos plants...they grow well in low to no light.
Finally! Enclosure is now complete! (Sorry for the bad glare...there is a video below that looks a little clearer)
Video:
http://s234.photobucket.com/albums/...ion=view¤t=PMurinusvideotutorial_02.flv
My new Poecilotheria fasciata enclosure - step by step pics
I ordered a 6" female Poecilotheria fasciata from Reptist yesterday (great communication - can't wait to get her! Great guy to work with) so I needed to build her an aorbeal enclosure. Had fun doing this one...it's not quite what I wanted to do. I still will be building a 9' x 3' tri-level communal pokie tank...but this one will do for one or two. It's 4' x 2'....check it out! Sorry, no spider in it yet...will be tomorrow! Rob
Here I am at step 1: carving the back drop - quite the messy project! Thankfully my wife is understanding... :O)
Finished back drop - after adding caulk & substrate:
Adding wood pieces (after baking to 400 degrees) we found in the woods near our house - the key to any natural-looking enclosure (buying from a store leaves something lacking I feel):
After the wood is all glued in:
More wood added to give it that natural look since there's never just one tree in the woods:
Adding the plexiglass piece on the bottom front to keep in the substrate - always a min. of 6":
Added the substrate to the bottom:
Adding the plants...arranged how you might find them in the wild:
Finished enclosure:
Looking up:
Robc's Poecilotheria fasciata enclosure lid pic tutorial
I had a lot of people asking about what kind of lid set-up I use. The lid set up I use is a sliding lid with a plexigass front mounted on a hinge, I do this so I can just swing open the plexi-glass front and mist the cage and then shut it to hold the humidity. I find this more effective than having a full plex-glass lid and having to open the lid everytime I want to just mist the cage..
Step 1: Cut plexi gass to desired height and make sure it over laps on right side over scree and comes just to the edge on the left and glue hinge to outer rim of the lid. Then glue plexi gass cover to the otherside of the hinge. Tip: Do this fast or the glue will dry before you set the hinge/plexi-glass in place.
step 2:
After glue dries open and shut hinge to make sure it operate's correctly. Put lid on enclosure
Step 3:
Install handles on plexigass front and side of lid.
Revamped T.Blondi enclosure (step by step pics & tutorial)
Had to redo my T. Blondi enclsoure because I couldn't clean properly. I found some great log pieces in the woods yesterday. The log I used is hollow and has a viewing window...I baked all pieces to 400 degrees to kill bacteria, pests... This tank is by far one of the best I have built in my opinon. Below are step by step pics of the process. Hope this gives others ideas. Sorry if the pics load slowly. Opinions appreciated....
Tools Used:
Step 1
Fill the cage with substrate (I used 13 blocks of Ecoearth)
Step 2
Cut the acryllic to size to prevent t. blondi from burrowing into the substrate.
Step 3
Hot-glue the acryllic to log
Step 4
Move aside the substrate and position log
Step 5
Half-bury and mold the log in substrate to create a more natural-looking den
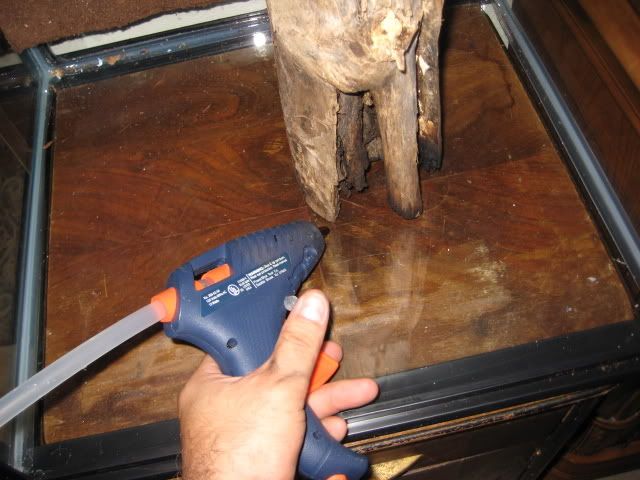
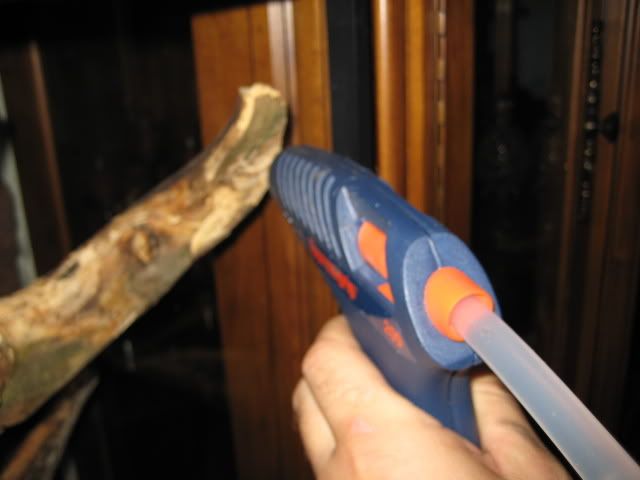
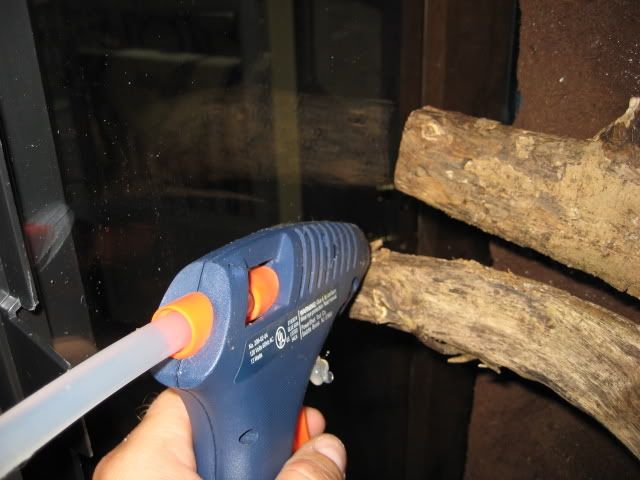
Step 6
Insert driftwood. Push driftwood into expand-a-foam backing and glue in place until secure. Also glue to top of den
Step 7
Add dried moss to driftwood where it joins together to create a seamless look
Step 8
Add plants
Before:
After:
Aerial:
Step 9
Add moss. Wet the moss front and back and half-bury in substrate.
Step 10
Add water bowl
Step 11
Add T...of course!
Finished enclosure:


")