- Joined
- Dec 11, 2008
- Messages
- 1,661
So, we have 5 slings that need to be upgraded to larger enclosures, so we have built 3 of them(we already had 2 enclosures, because we are playing T musical chairs), and taken step-by-step pictures. (we don't own a video camera) We prefer to make our own enclosures as we aren't fond of the hobby boxes, because of their lids being able to come off so easily. Plus, we get to play with power tools and do other fun/ arts and crafty/ nail polish chipping stuff.
Supplies: plexi-glass, plexi-knife, yard stick, white paint, small square dowel, clear packing tape, color sharpie(black seems to be harder to get off the plexi), hot glue gun and sticks for it (clamps, wire cutter/ pliers/ fingernail clippers and an extra set of hands are nice to have, but you don't HAVE to have them)

We made two different types of enclosures, 2 that are 4 X 4 X 2" out of 1/8" plexi and 1 that is 8 X 8 X 3 3/4"(we were planning on 4", but somehow i messed up when measuring, so we rolled with it) out of 1/4" plexi.
We recommend marking off your dowel rod(the height of each side, so for us that was 2" and 3 3/4"), cutting and painting it first, as you have to wait for the paint to dry. We use white paint to seal the the dowels. Since they are going to be in sling containers that are kept moister, so we don't want them to mold. We have never had problems with the slings and chewing paint(some of them were in enclosures with painted dowel rods for almost a year), but it could happen and we don't know what the outcome of that would be. So, if you do use paint, keep that in mind.

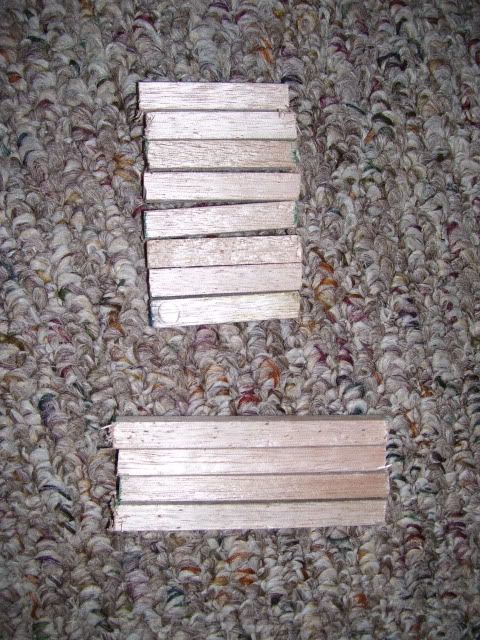
We recommend painting them on some sort of drop cloth. They won't stick to it as much as cardboard. (Yes, that sheet is from the '70's)


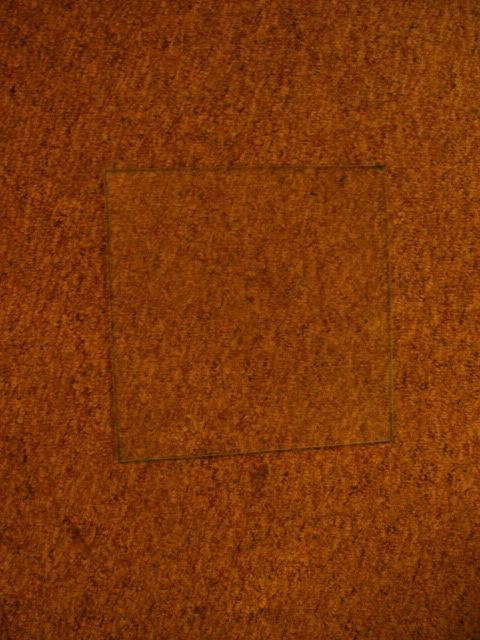
For the 1/4" plexi, we were able to use a circular saw to cut it. We began by cutting out a 8 X 8" square.
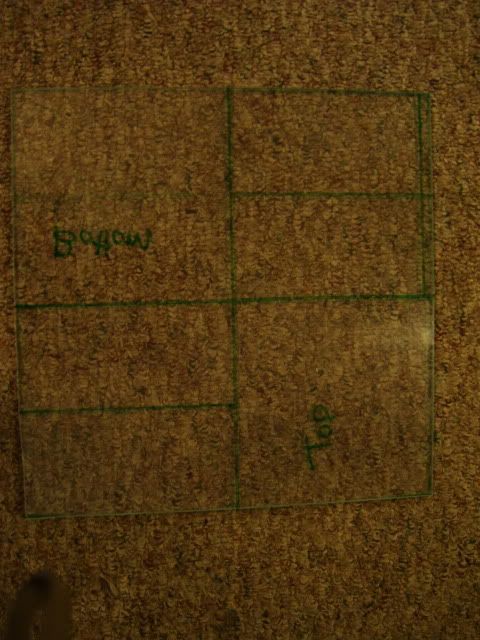
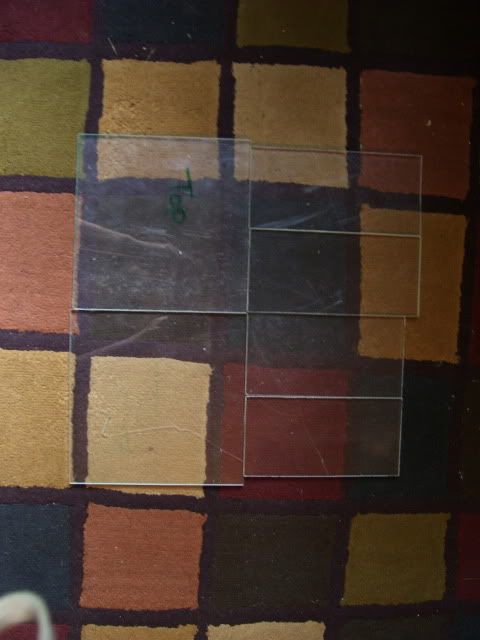
Then we marked off each individual piece before cutting. In order to make the cubes come out square, we make two of the side pieces a 1/2"(thickness of two pieces of plexi) shorter than the long sides. This allows them to fit inside the long pieces. We'll show that further down.
Then we cut those pieces out and used Windex to get the sharpie marks off. (You can use rubbing alcohol, but don't use it around holes or edges, it will make small cracks inside the plexi)
For the 4 X 4 X 2 enclosures, we used 1/8" plexi, which can't be cut with a saw. That means scoring and snapping plexi, which can be frustrating.
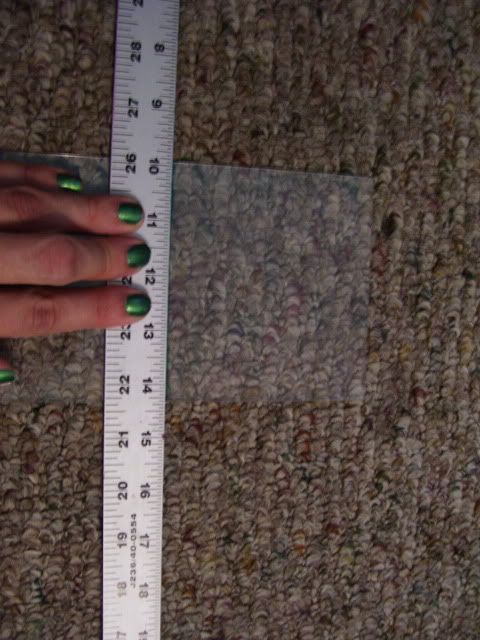
First, make sure you have a sharp plexi-knife, ours had gotten dull and caused some oops! moments. Once again, you use your yard stick and sharpie to mark your lines. You can also use a carpenter square to make sure all lines are as straight as they can be.
in this picture we used a scrap piece of plexi that we had, so the right edge is not straight, but the line i am using is.
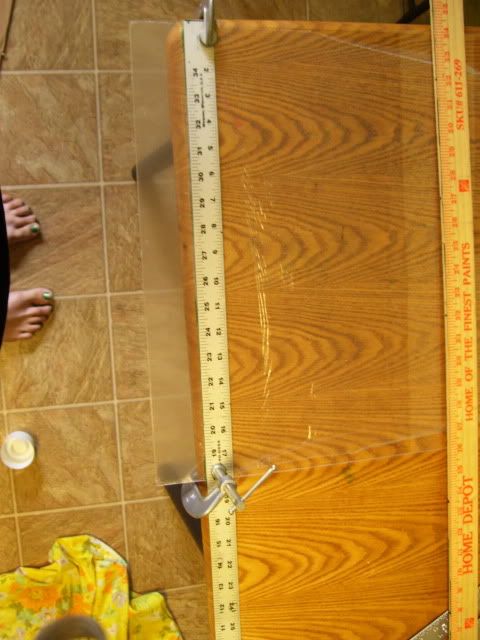
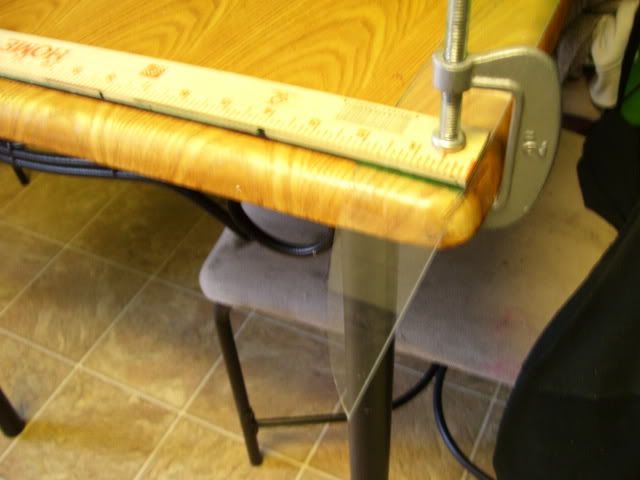
Now it is time to score your line with the plexi-knife. For this it is helpful to clamp the plexi to a table or other hard surface, but can be done without doing this.
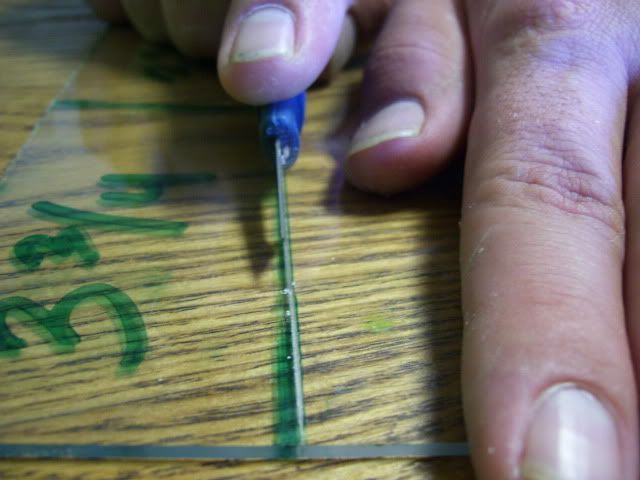
We find it easier to begin scoring with the yard stick still in place. Makes it easier to get that first score straight. You don't have to push down hard, but it does take a little bit of pressure. You want to go over your line many times until you have a good groove and you need to taper the ends down farther than the rest of the groove.

If you are cutting from a large sheet of plexi, don't try and just take off 2" or less. This resulted in the plexi breaking wrong for us, so we modified and cut off a 4" segment.
Our oops!
If you score on your table, beware as it can be hazardous to its health!

Now that you have all your individual pieces, it is time to start putting them together!
Start with the short sides and begin by putting a small bead of hot glue down the length of the dowel rod. You can use a popsicle stick to smooth it out.

Make sure the dowel lines up evenly with the top/ bottom/ side of the piece of plexi.
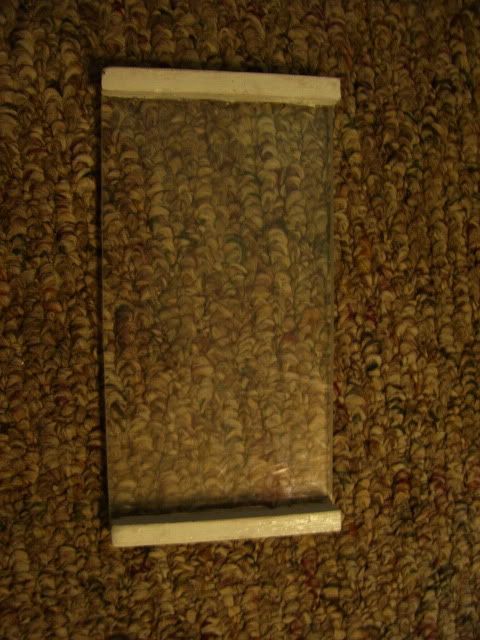

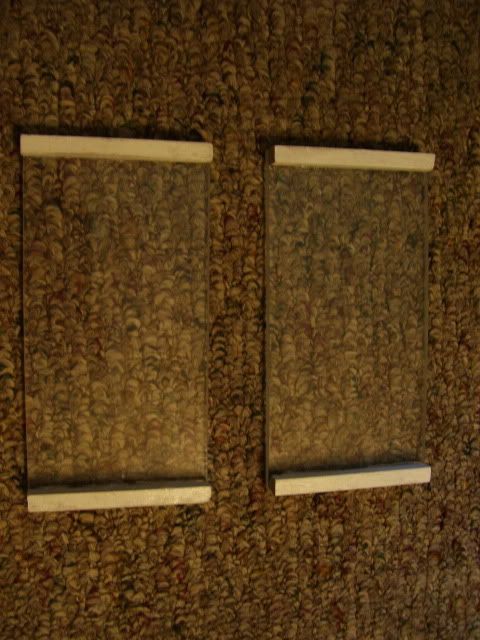
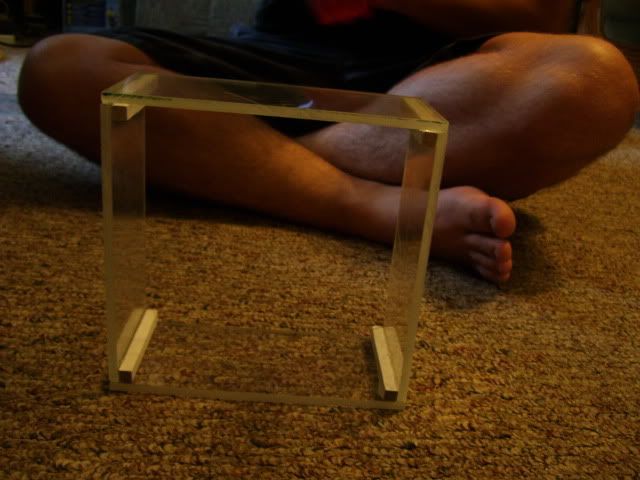
Now you should have two short sides that look like this:
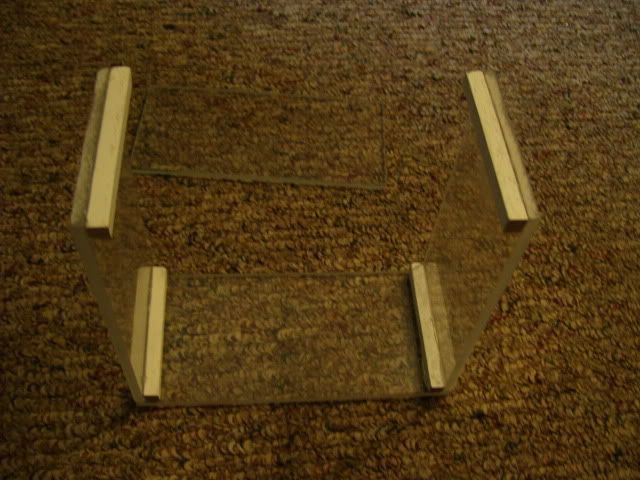
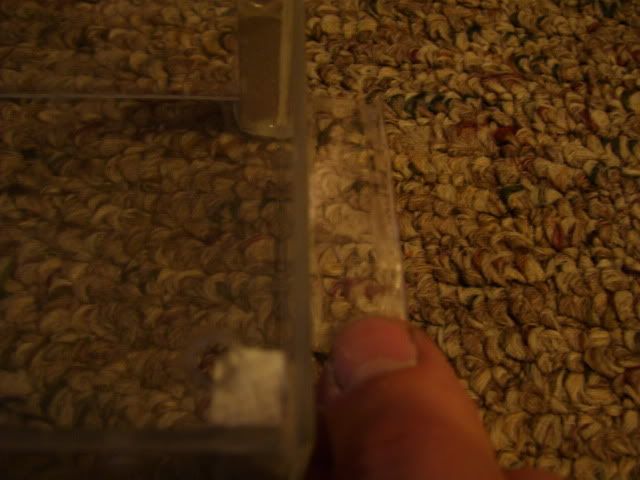
Now it is time to glue the long side pieces to the short side pieces that have the dowels already on them. You will need to glue the long side so that it goes to the outer edge of the short piece of plexi, not the edge of the dowel. This makes the short piece sit inside the long piece. You will need to hold it in place as the hot glue dries(it doesn't take long), to make it dry at a right angle.
In this picture the dowel is glued to the bottom short piece and the long piece is being glued on top of it. The plexi messes with the perspective a little.

Then you need to glue the other short side to that same long side.
This next step is the most difficult gluing step. You have to glue the last long side on top of the 2 shorter ones. To make it turn out square you will need to pull the two short sides out until they line up with the edges of the long side and then hold it like that to dry. It really helps to have an extra pair of hands to help with this.
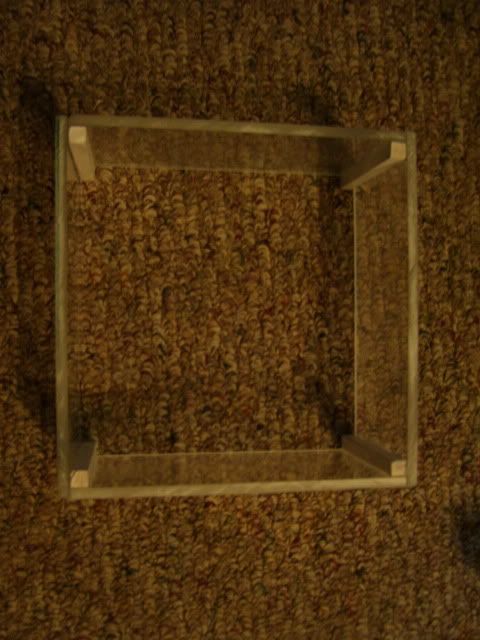
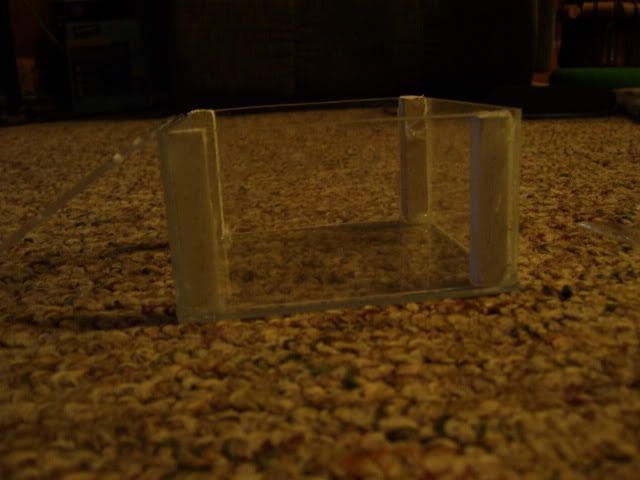
Then you have the sides done!
Next you glue on your bottom piece by putting hot glue on the 4 corner dowels. You have to be quick with this step, so the glue doesn't start to harden on you.

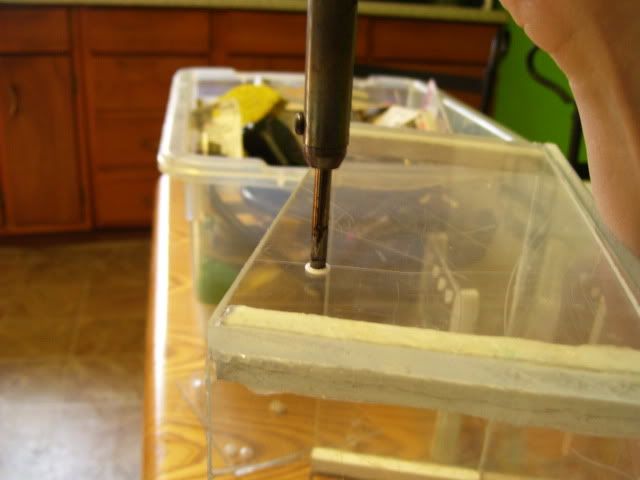
Now it is time for some ventilation holes. We use a soldering iron to melt the holes. The amount of ventilation you need is directly related to the T you are going to house. For our big enclosure, we are putting our B. smithi juvie in it, so it has 10 holes along each side and 13 on top, since they like it dry. The smaller enclosures are for our G. pulchra slings and have 4 holes on two sides and 5 on the top, since they will need to stay a little more humid.
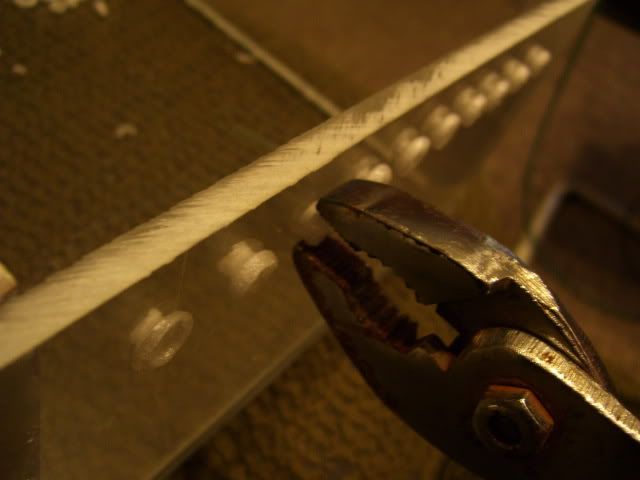
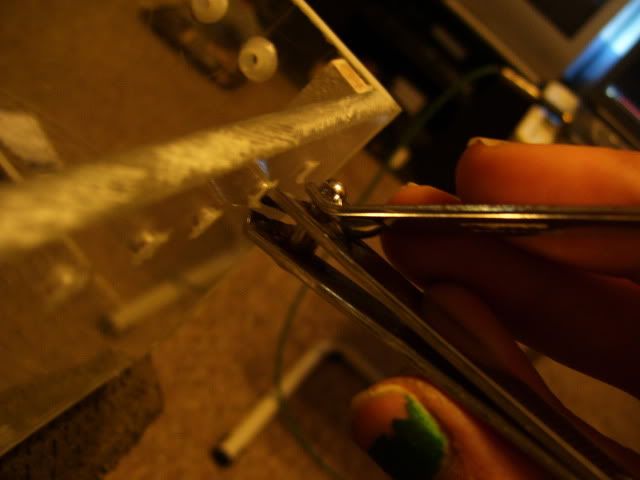
After you melt the holes, you will have flash/ melted plastic in mounds that will need to be removed. We used a pair of pliers(you can use wire cutters as well) to pop the large mounds off and nail clippers to make sure all holes are smooth, with no sharp edges and present no danger to the T.
Now it is time to attach the lids. We use clear packing tape for the hinges and latches. To make the latches, we fold the tape until it makes a thicker end that isn't sticky, to be able to hold onto for opening the enclosure.

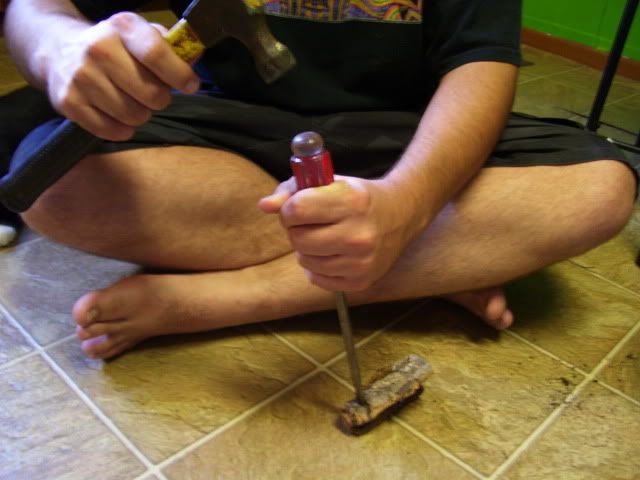
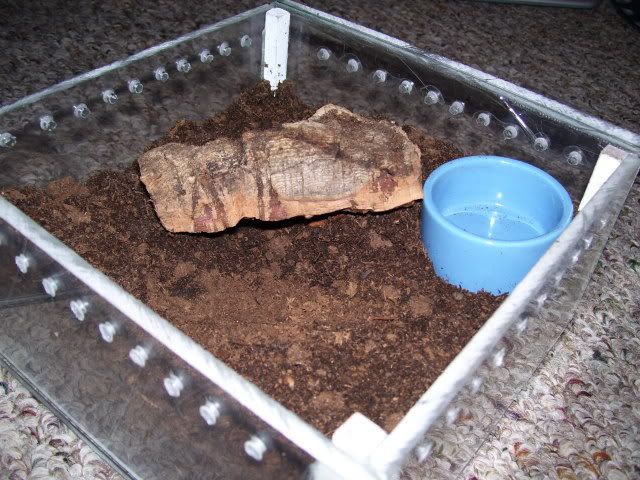
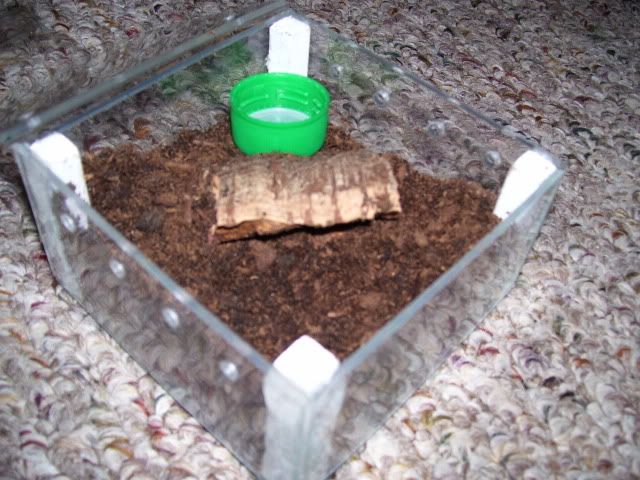
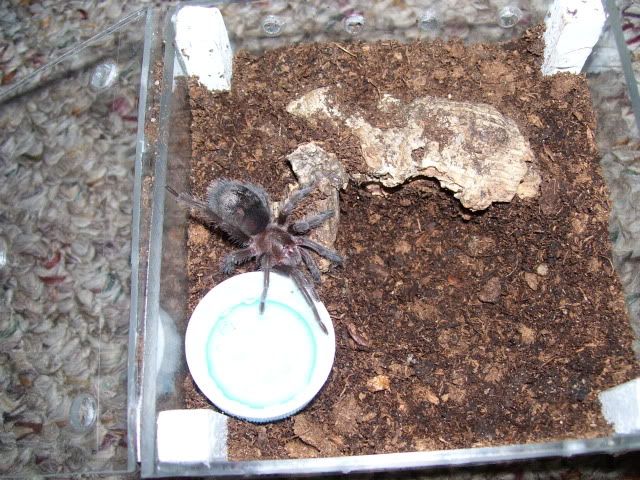
Now all that is left is to fill them up with substrate, make a hide and put in a water dish. For substrate we used a 50/50 mix of peat and potting soil. We find that 100% peat has trouble maintaining moisture and holding a burrow. (this is a new decision) We used small pieces of cork bark for hides and for water dishes we used bottle caps for the G. pulchras and a ramekin for the B. smithi. Cork bark is hard to get into smaller pieces, so we use a large screwdriver and a hammer.
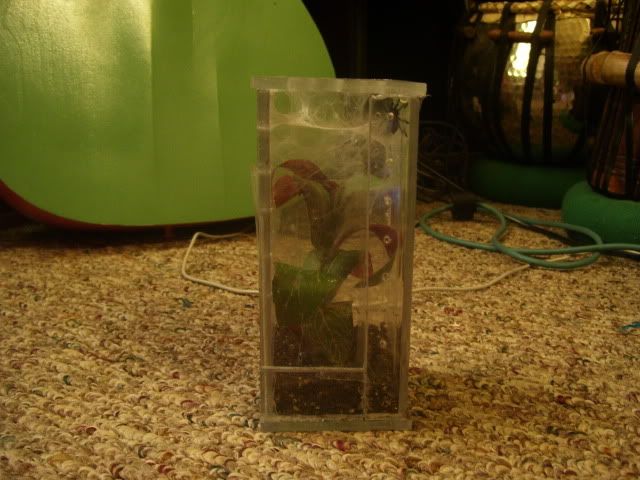
Here are the finished products!

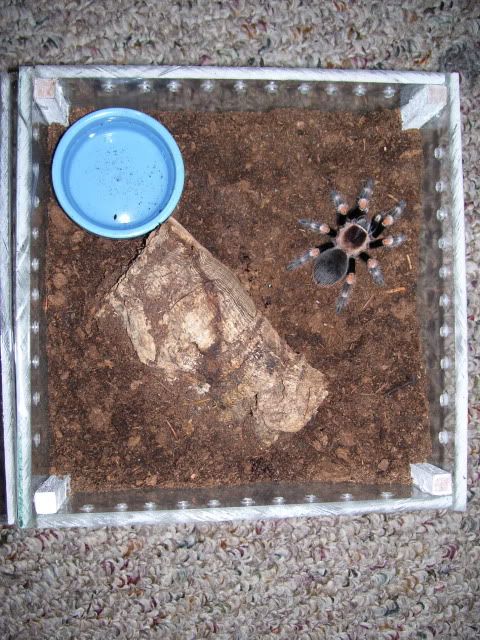
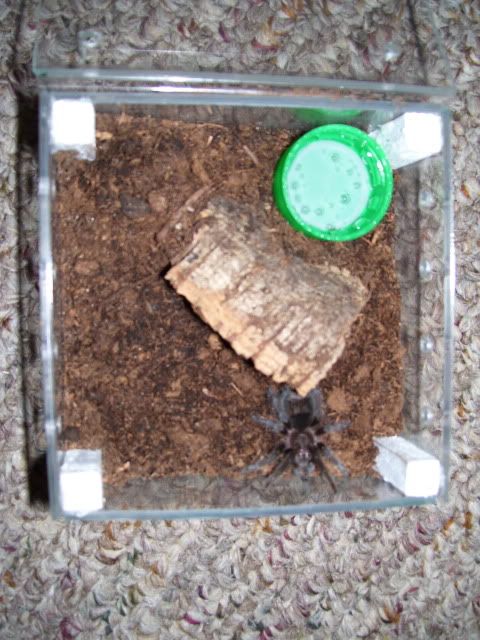
and with the T's moved in:
We hope this long post is helpful to someone, we enjoyed making it for you guys!
Supplies: plexi-glass, plexi-knife, yard stick, white paint, small square dowel, clear packing tape, color sharpie(black seems to be harder to get off the plexi), hot glue gun and sticks for it (clamps, wire cutter/ pliers/ fingernail clippers and an extra set of hands are nice to have, but you don't HAVE to have them)
We made two different types of enclosures, 2 that are 4 X 4 X 2" out of 1/8" plexi and 1 that is 8 X 8 X 3 3/4"(we were planning on 4", but somehow i messed up when measuring, so we rolled with it) out of 1/4" plexi.
We recommend marking off your dowel rod(the height of each side, so for us that was 2" and 3 3/4"), cutting and painting it first, as you have to wait for the paint to dry. We use white paint to seal the the dowels. Since they are going to be in sling containers that are kept moister, so we don't want them to mold. We have never had problems with the slings and chewing paint(some of them were in enclosures with painted dowel rods for almost a year), but it could happen and we don't know what the outcome of that would be. So, if you do use paint, keep that in mind.
We recommend painting them on some sort of drop cloth. They won't stick to it as much as cardboard. (Yes, that sheet is from the '70's)
For the 1/4" plexi, we were able to use a circular saw to cut it. We began by cutting out a 8 X 8" square.
Then we marked off each individual piece before cutting. In order to make the cubes come out square, we make two of the side pieces a 1/2"(thickness of two pieces of plexi) shorter than the long sides. This allows them to fit inside the long pieces. We'll show that further down.
Then we cut those pieces out and used Windex to get the sharpie marks off. (You can use rubbing alcohol, but don't use it around holes or edges, it will make small cracks inside the plexi)
For the 4 X 4 X 2 enclosures, we used 1/8" plexi, which can't be cut with a saw. That means scoring and snapping plexi, which can be frustrating.
First, make sure you have a sharp plexi-knife, ours had gotten dull and caused some oops! moments. Once again, you use your yard stick and sharpie to mark your lines. You can also use a carpenter square to make sure all lines are as straight as they can be.
in this picture we used a scrap piece of plexi that we had, so the right edge is not straight, but the line i am using is.
Now it is time to score your line with the plexi-knife. For this it is helpful to clamp the plexi to a table or other hard surface, but can be done without doing this.
We find it easier to begin scoring with the yard stick still in place. Makes it easier to get that first score straight. You don't have to push down hard, but it does take a little bit of pressure. You want to go over your line many times until you have a good groove and you need to taper the ends down farther than the rest of the groove.
If you are cutting from a large sheet of plexi, don't try and just take off 2" or less. This resulted in the plexi breaking wrong for us, so we modified and cut off a 4" segment.
Our oops!
If you score on your table, beware as it can be hazardous to its health!
Now that you have all your individual pieces, it is time to start putting them together!
Start with the short sides and begin by putting a small bead of hot glue down the length of the dowel rod. You can use a popsicle stick to smooth it out.
Make sure the dowel lines up evenly with the top/ bottom/ side of the piece of plexi.
Now you should have two short sides that look like this:
Now it is time to glue the long side pieces to the short side pieces that have the dowels already on them. You will need to glue the long side so that it goes to the outer edge of the short piece of plexi, not the edge of the dowel. This makes the short piece sit inside the long piece. You will need to hold it in place as the hot glue dries(it doesn't take long), to make it dry at a right angle.
In this picture the dowel is glued to the bottom short piece and the long piece is being glued on top of it. The plexi messes with the perspective a little.
Then you need to glue the other short side to that same long side.
This next step is the most difficult gluing step. You have to glue the last long side on top of the 2 shorter ones. To make it turn out square you will need to pull the two short sides out until they line up with the edges of the long side and then hold it like that to dry. It really helps to have an extra pair of hands to help with this.
Then you have the sides done!
Next you glue on your bottom piece by putting hot glue on the 4 corner dowels. You have to be quick with this step, so the glue doesn't start to harden on you.
Now it is time for some ventilation holes. We use a soldering iron to melt the holes. The amount of ventilation you need is directly related to the T you are going to house. For our big enclosure, we are putting our B. smithi juvie in it, so it has 10 holes along each side and 13 on top, since they like it dry. The smaller enclosures are for our G. pulchra slings and have 4 holes on two sides and 5 on the top, since they will need to stay a little more humid.
After you melt the holes, you will have flash/ melted plastic in mounds that will need to be removed. We used a pair of pliers(you can use wire cutters as well) to pop the large mounds off and nail clippers to make sure all holes are smooth, with no sharp edges and present no danger to the T.
Now it is time to attach the lids. We use clear packing tape for the hinges and latches. To make the latches, we fold the tape until it makes a thicker end that isn't sticky, to be able to hold onto for opening the enclosure.
Now all that is left is to fill them up with substrate, make a hide and put in a water dish. For substrate we used a 50/50 mix of peat and potting soil. We find that 100% peat has trouble maintaining moisture and holding a burrow. (this is a new decision) We used small pieces of cork bark for hides and for water dishes we used bottle caps for the G. pulchras and a ramekin for the B. smithi. Cork bark is hard to get into smaller pieces, so we use a large screwdriver and a hammer.
Here are the finished products!
and with the T's moved in:
We hope this long post is helpful to someone, we enjoyed making it for you guys!