- Joined
- Nov 10, 2007
- Messages
- 3,824
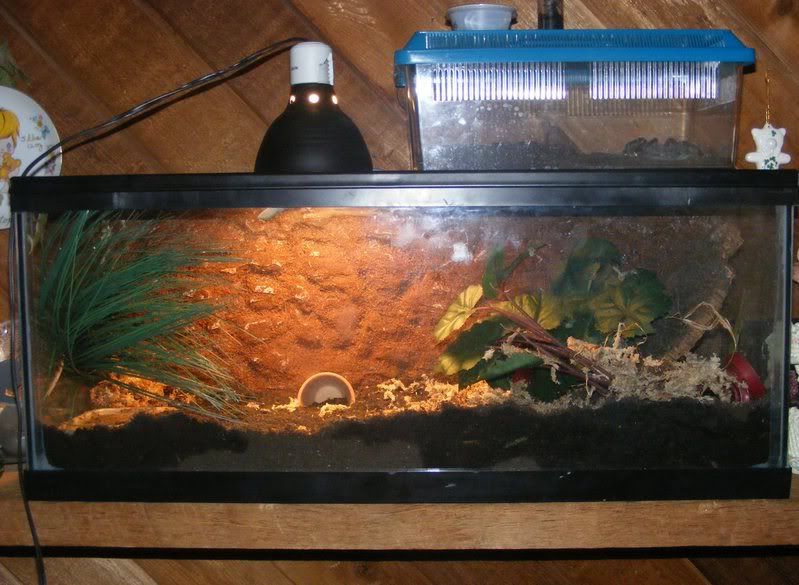
Don't glue Styrofoam together....get it thicker.....you can buy it in one piece up to 8" thick. Styrofoam is endless in posibilities.....I have made anything from a simple backdrop to in ground creek systems....it's fun to work with. The reason you shouldn't glue Styrofoam together is.....it will cause a air bubble in between the layers and rupture the seams or bow.....I wouldn't suggest doing this.....I have done it and had big problems and have known others who have to....robGetting creative on this idea.
Ever consider a glueing a couple of pieces together (thickness) to give you more depth, perhaps incorporating a hide or cave into the backdrop?
I have a large hex. tank I may try this with.
This idea seems less messy and less permanent than the spray foam technique.
")